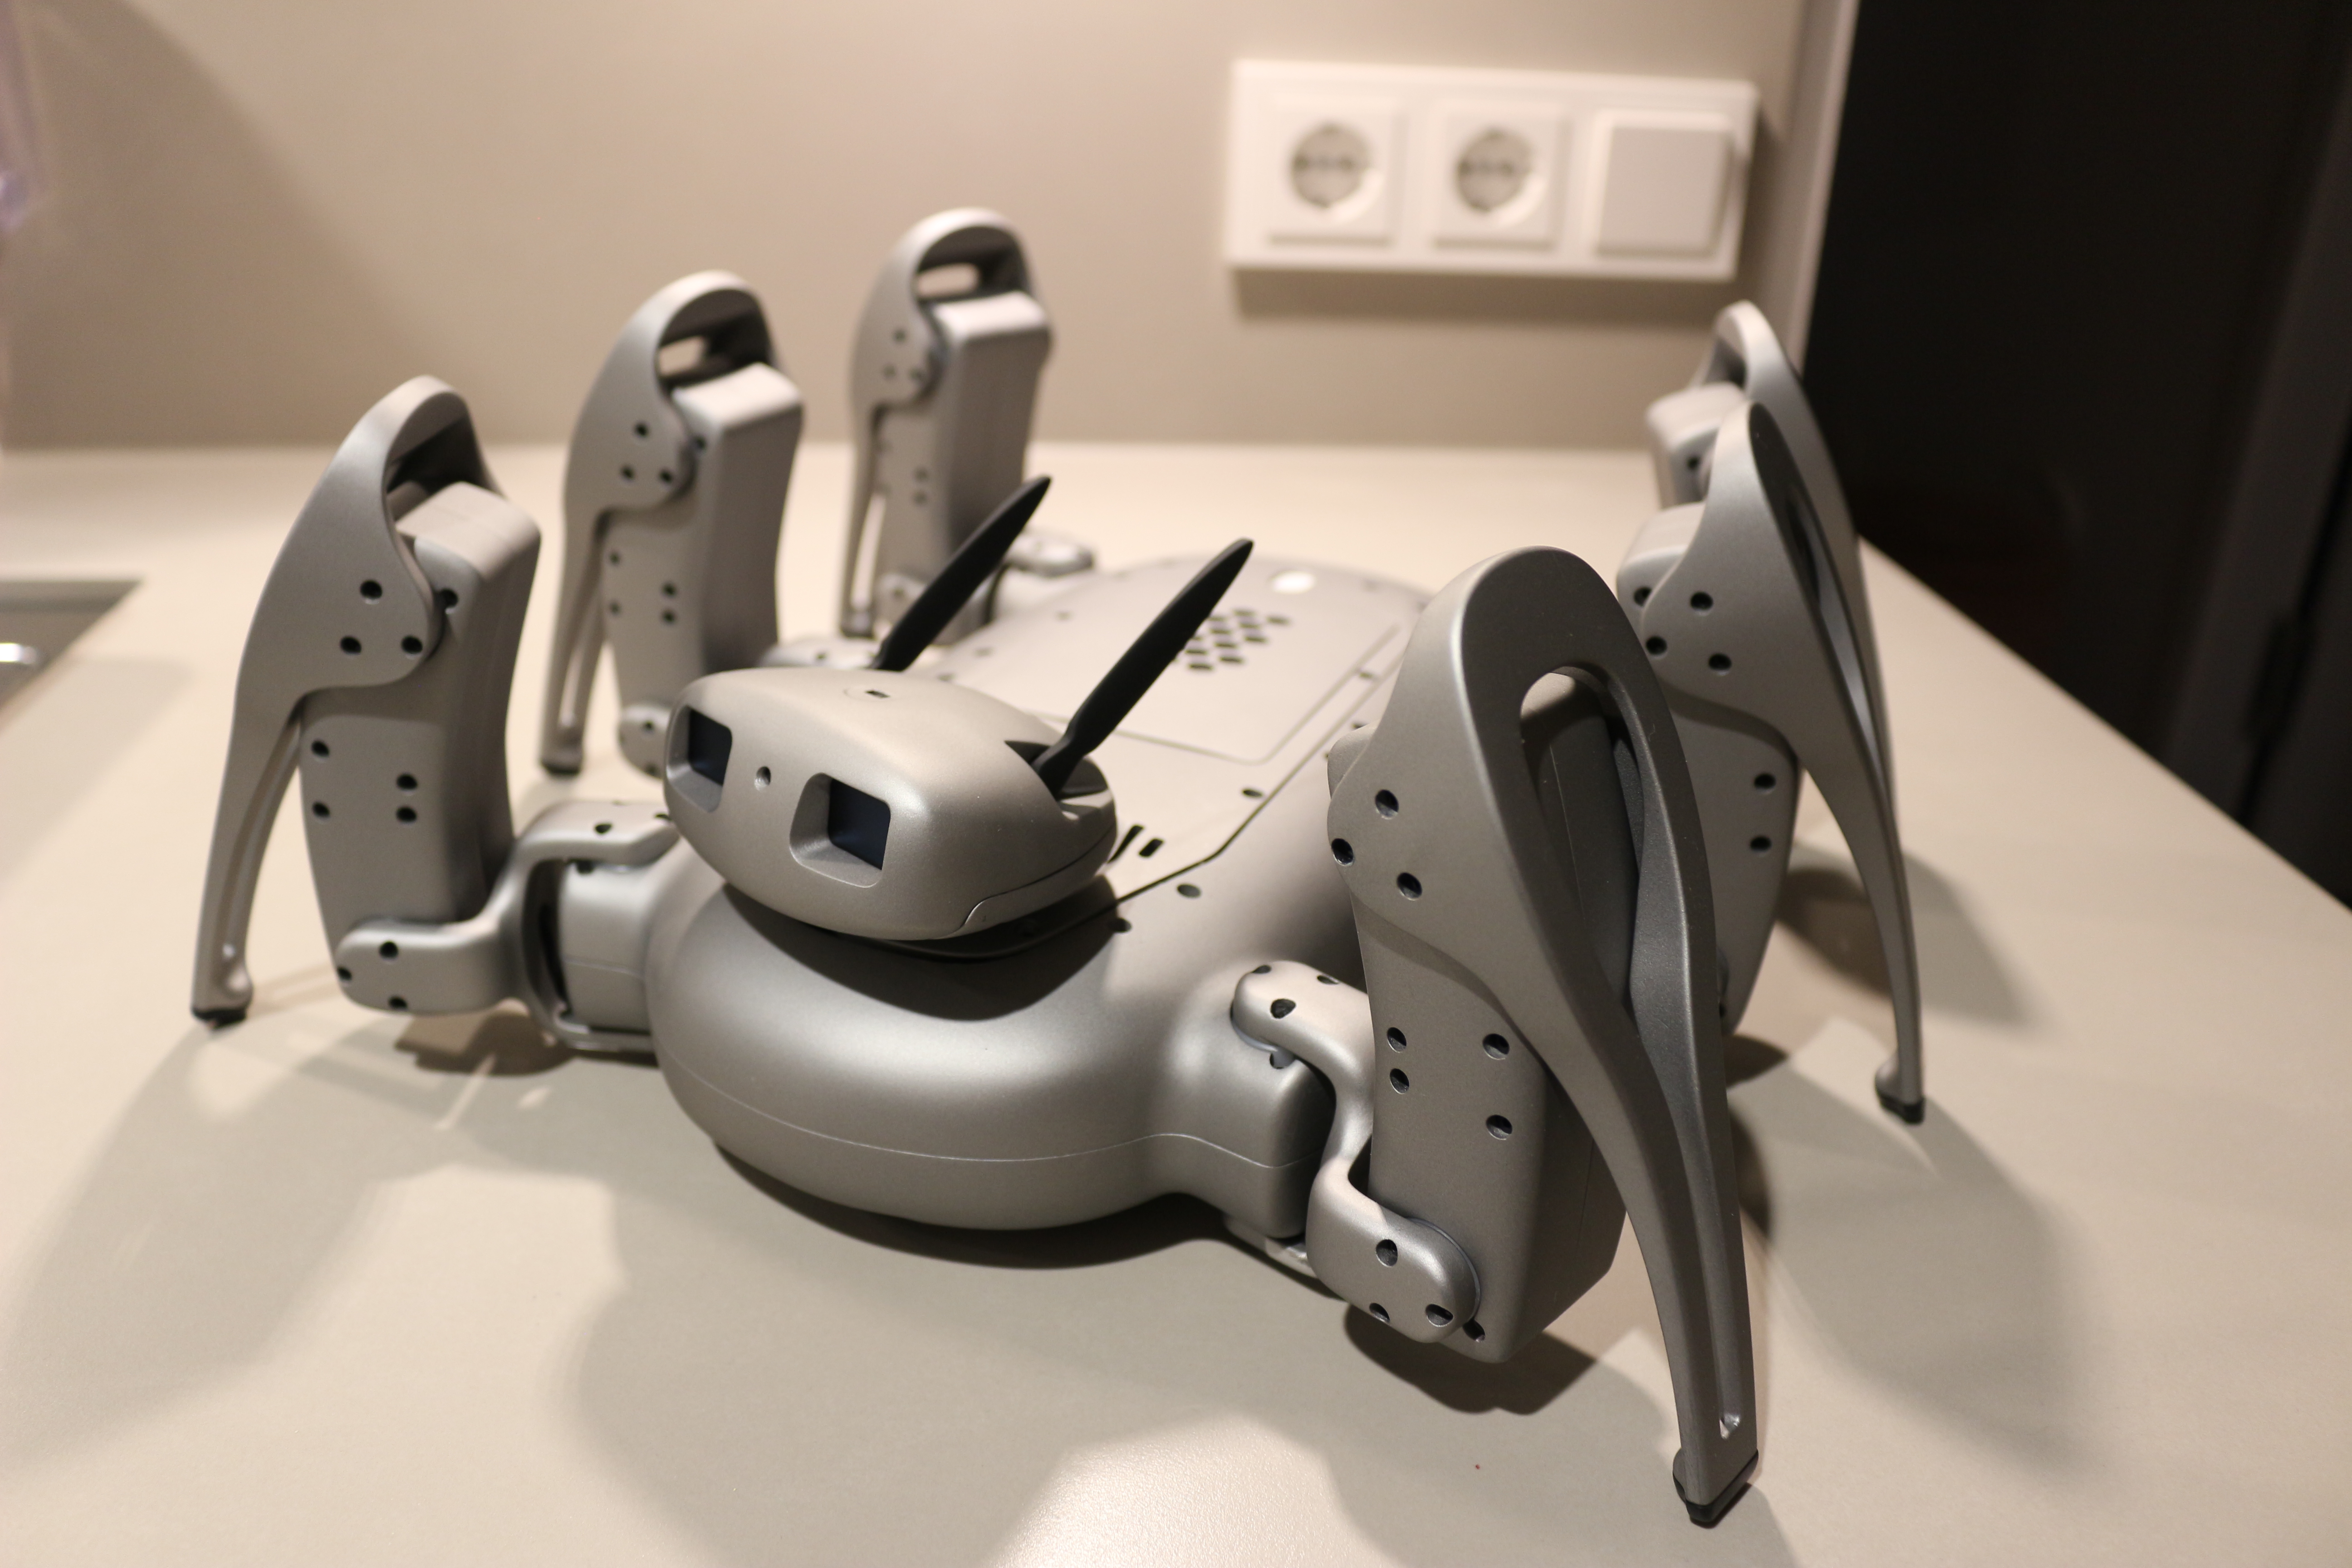
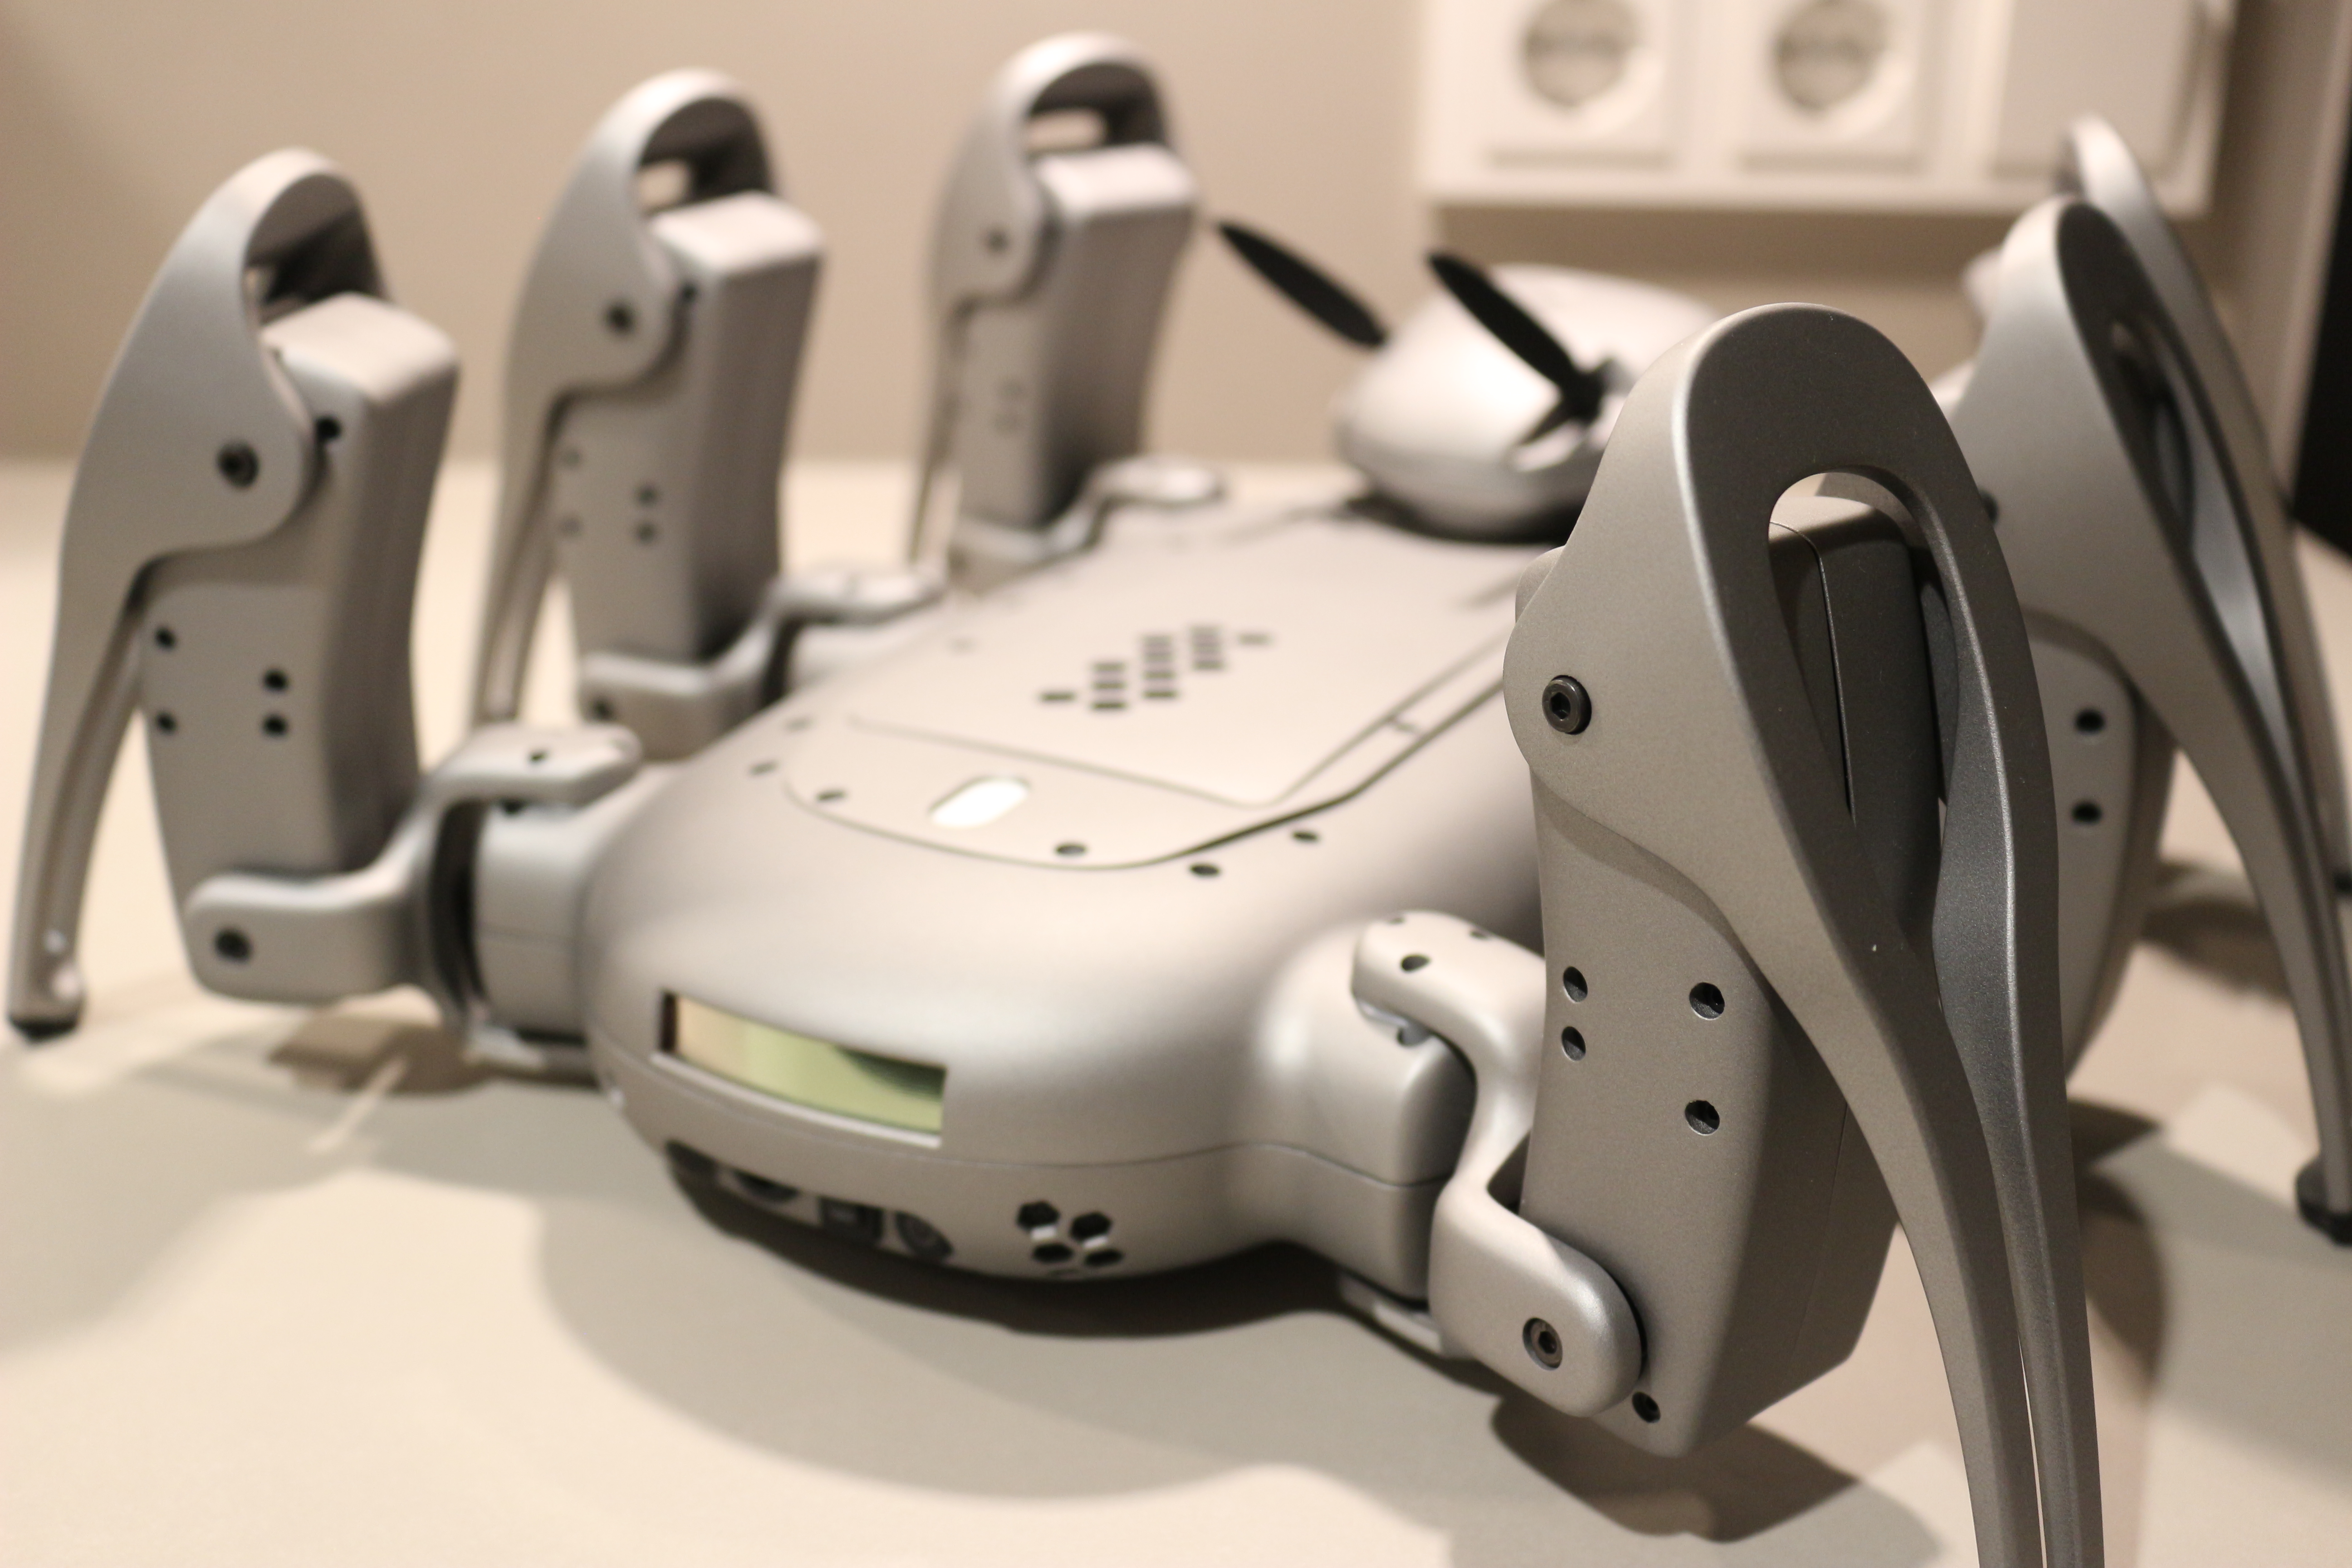
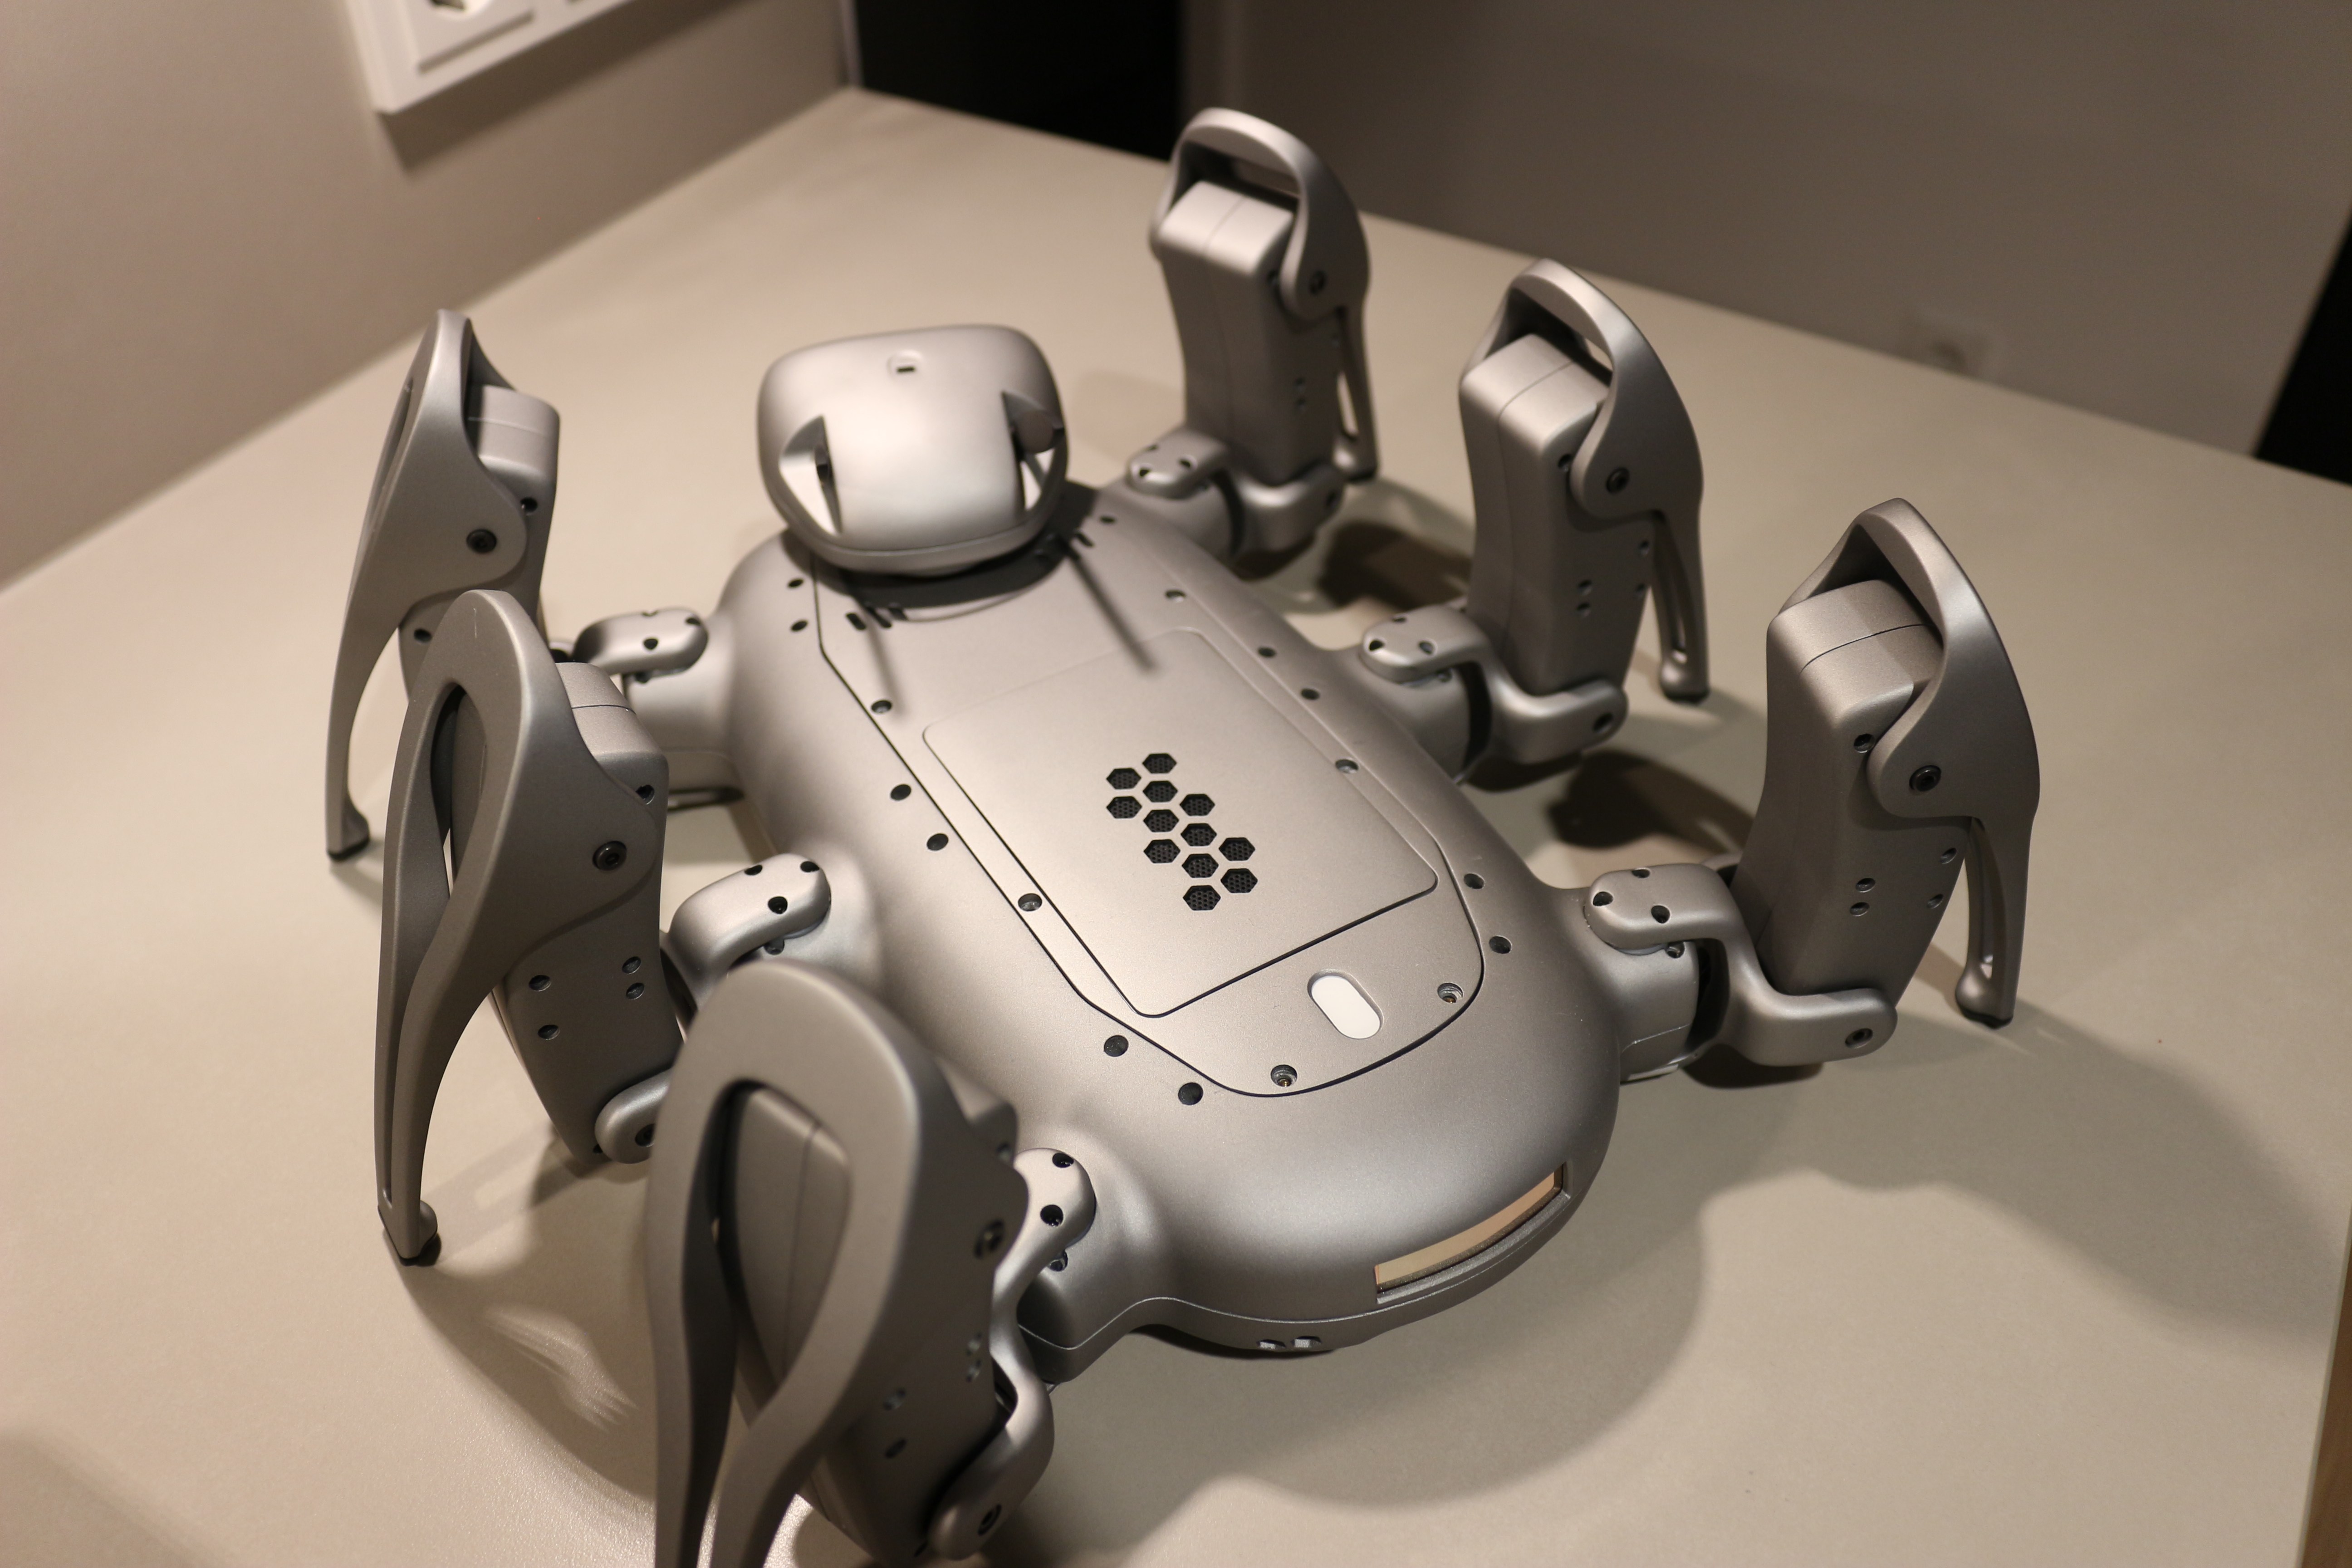
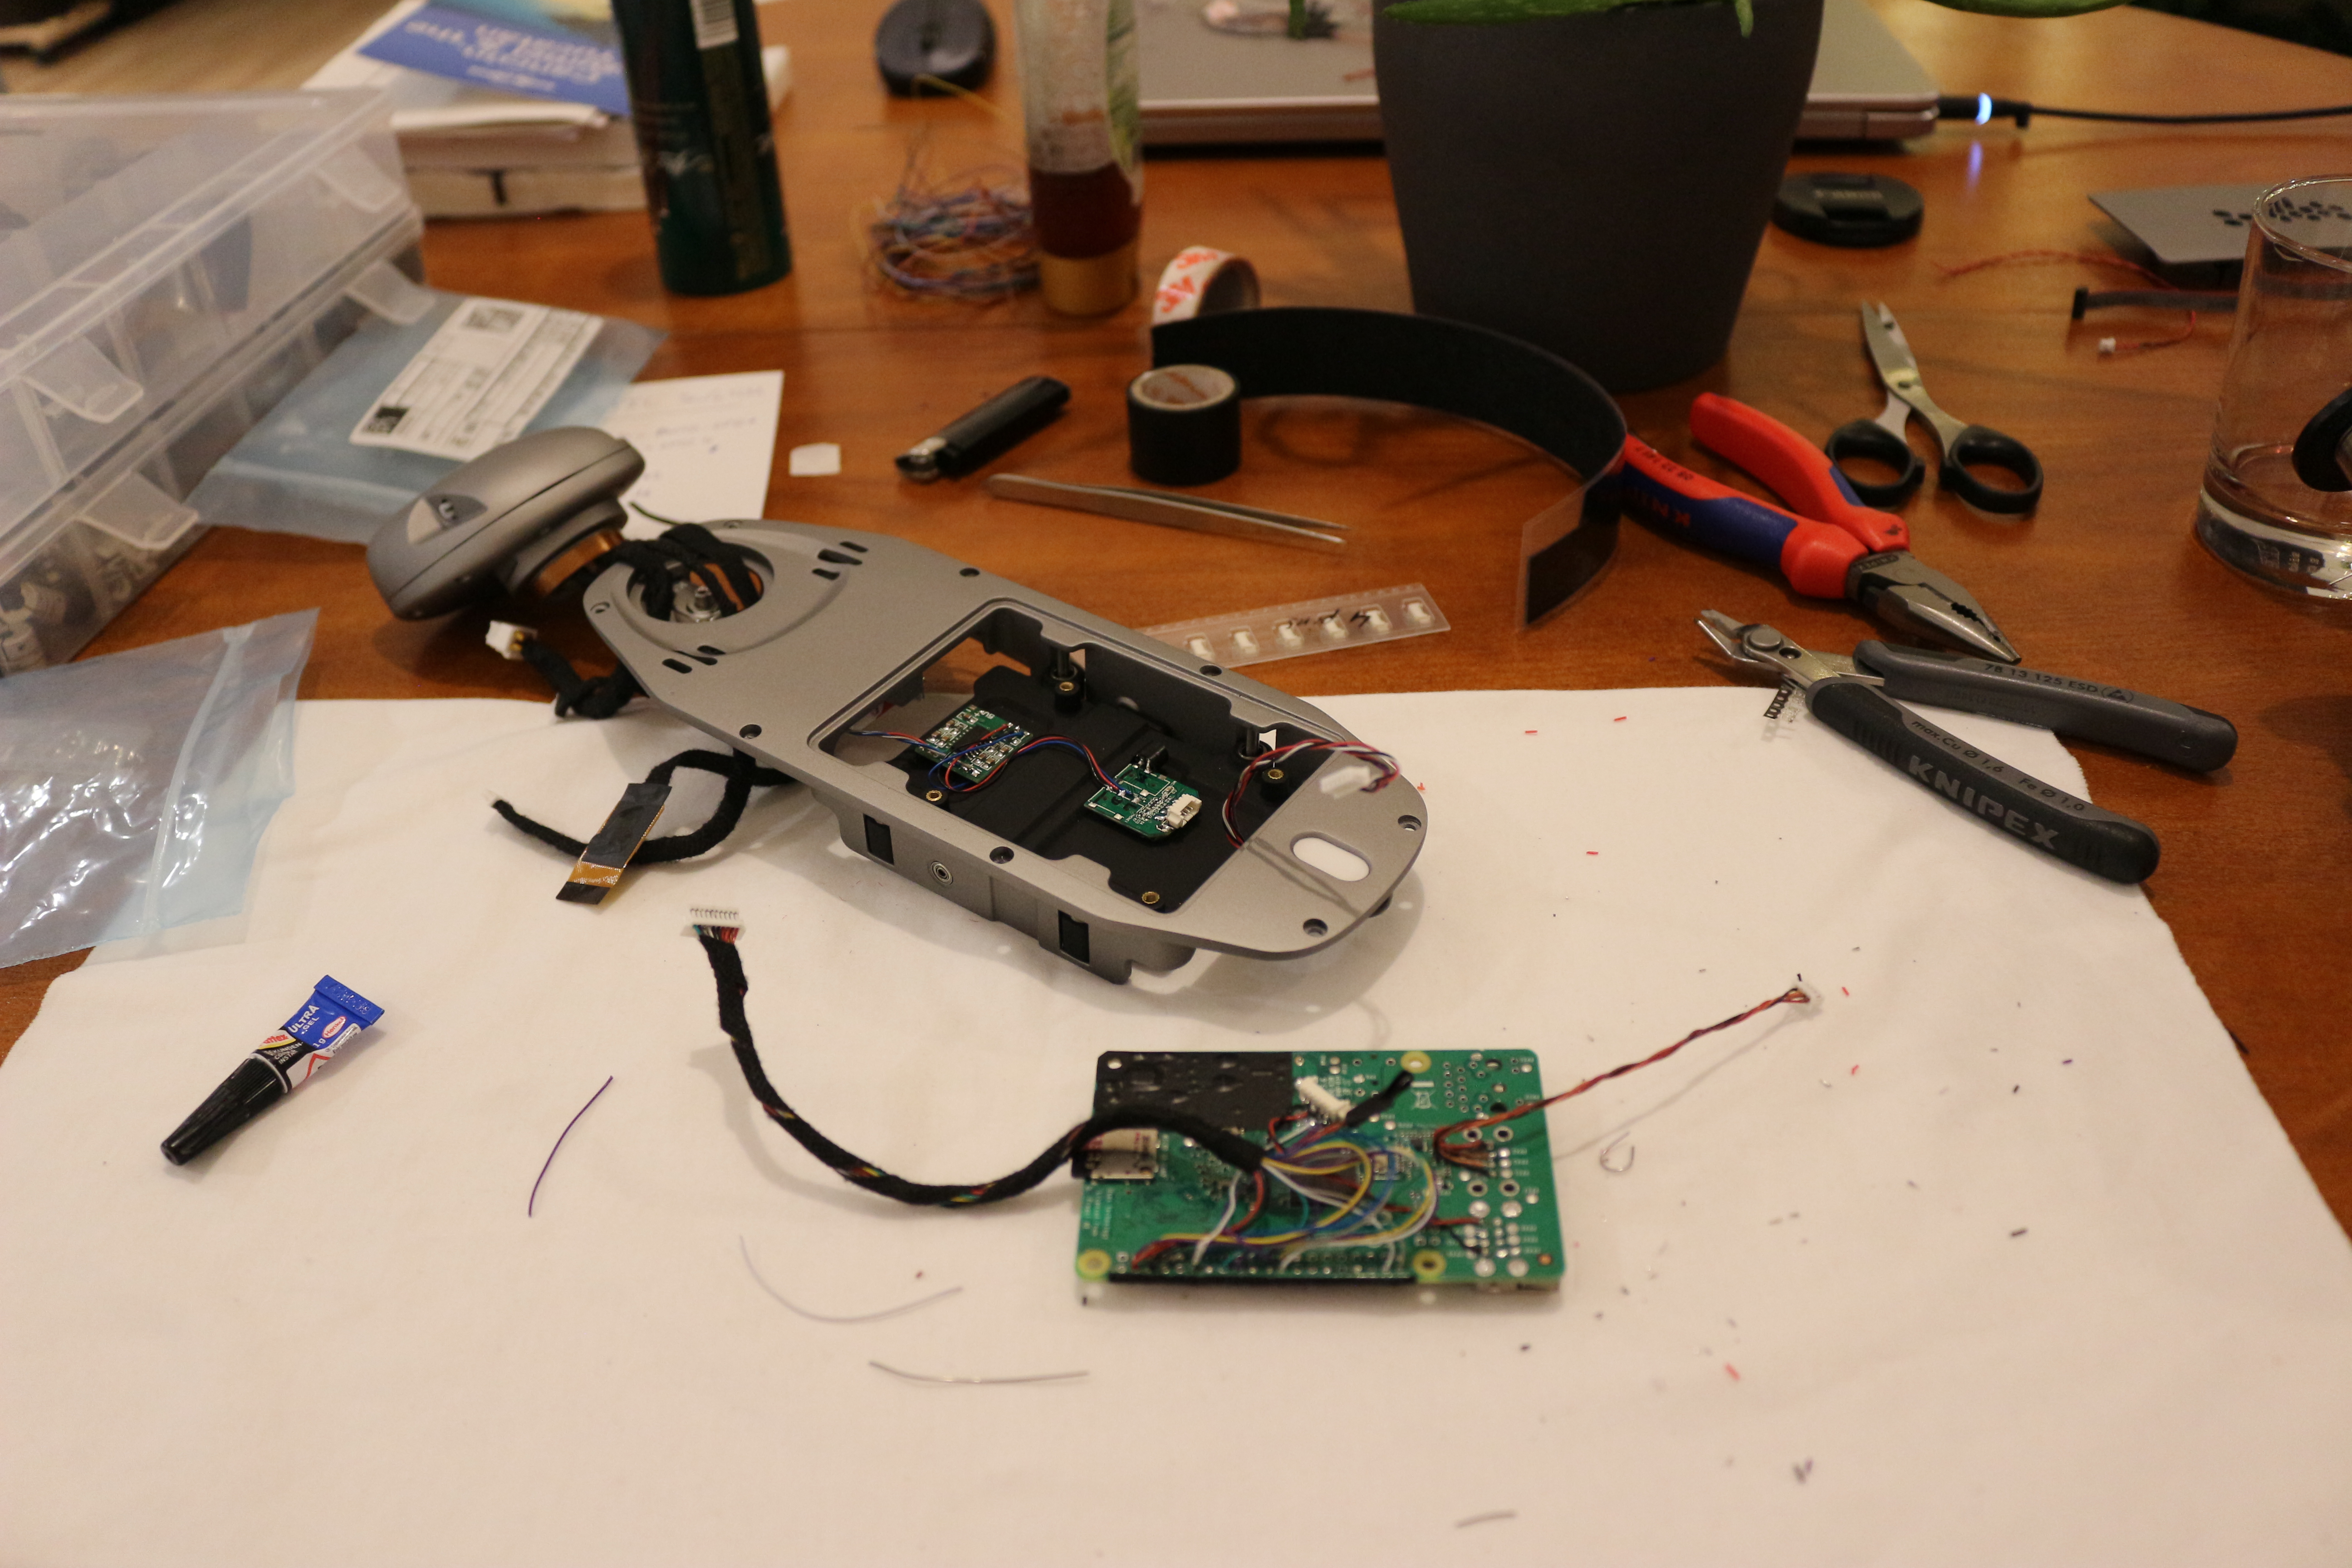
The assembly is finally coming to an end with the Top Cover. This part holds the Raspberry Pi and the Head of Anima. This was most certainly the most difficult to assemble and to fit all the components inside in a nice way.
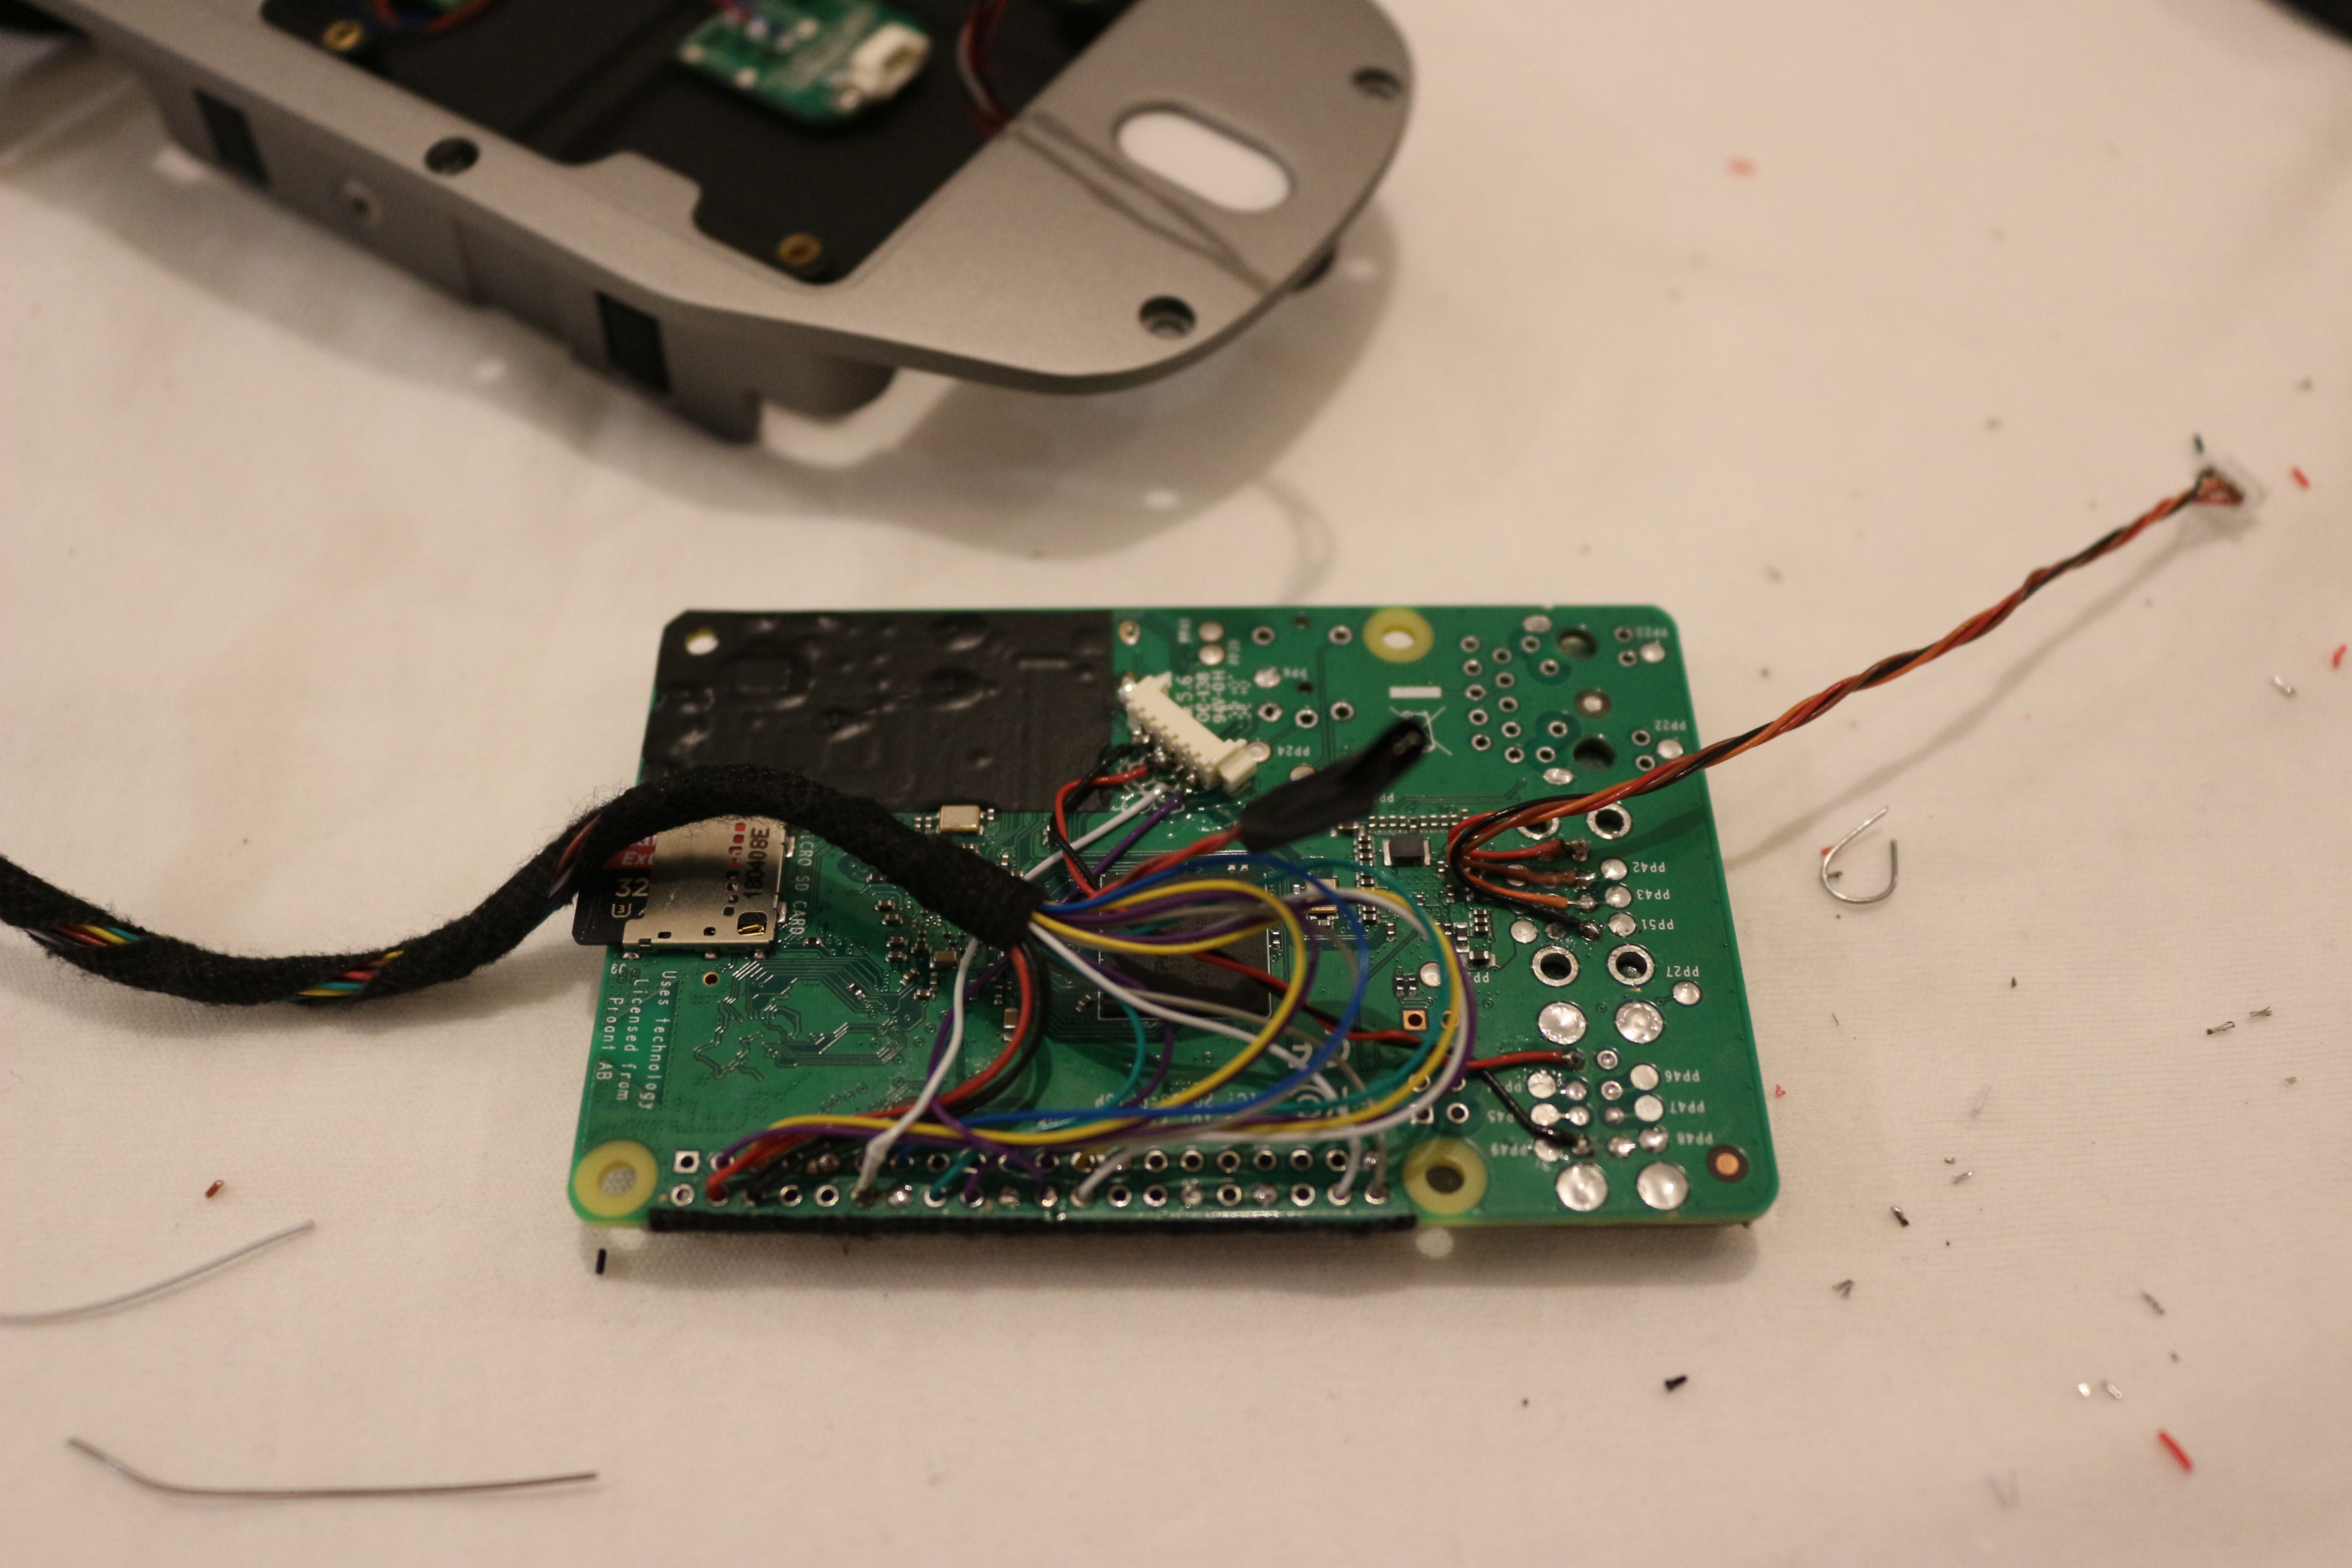
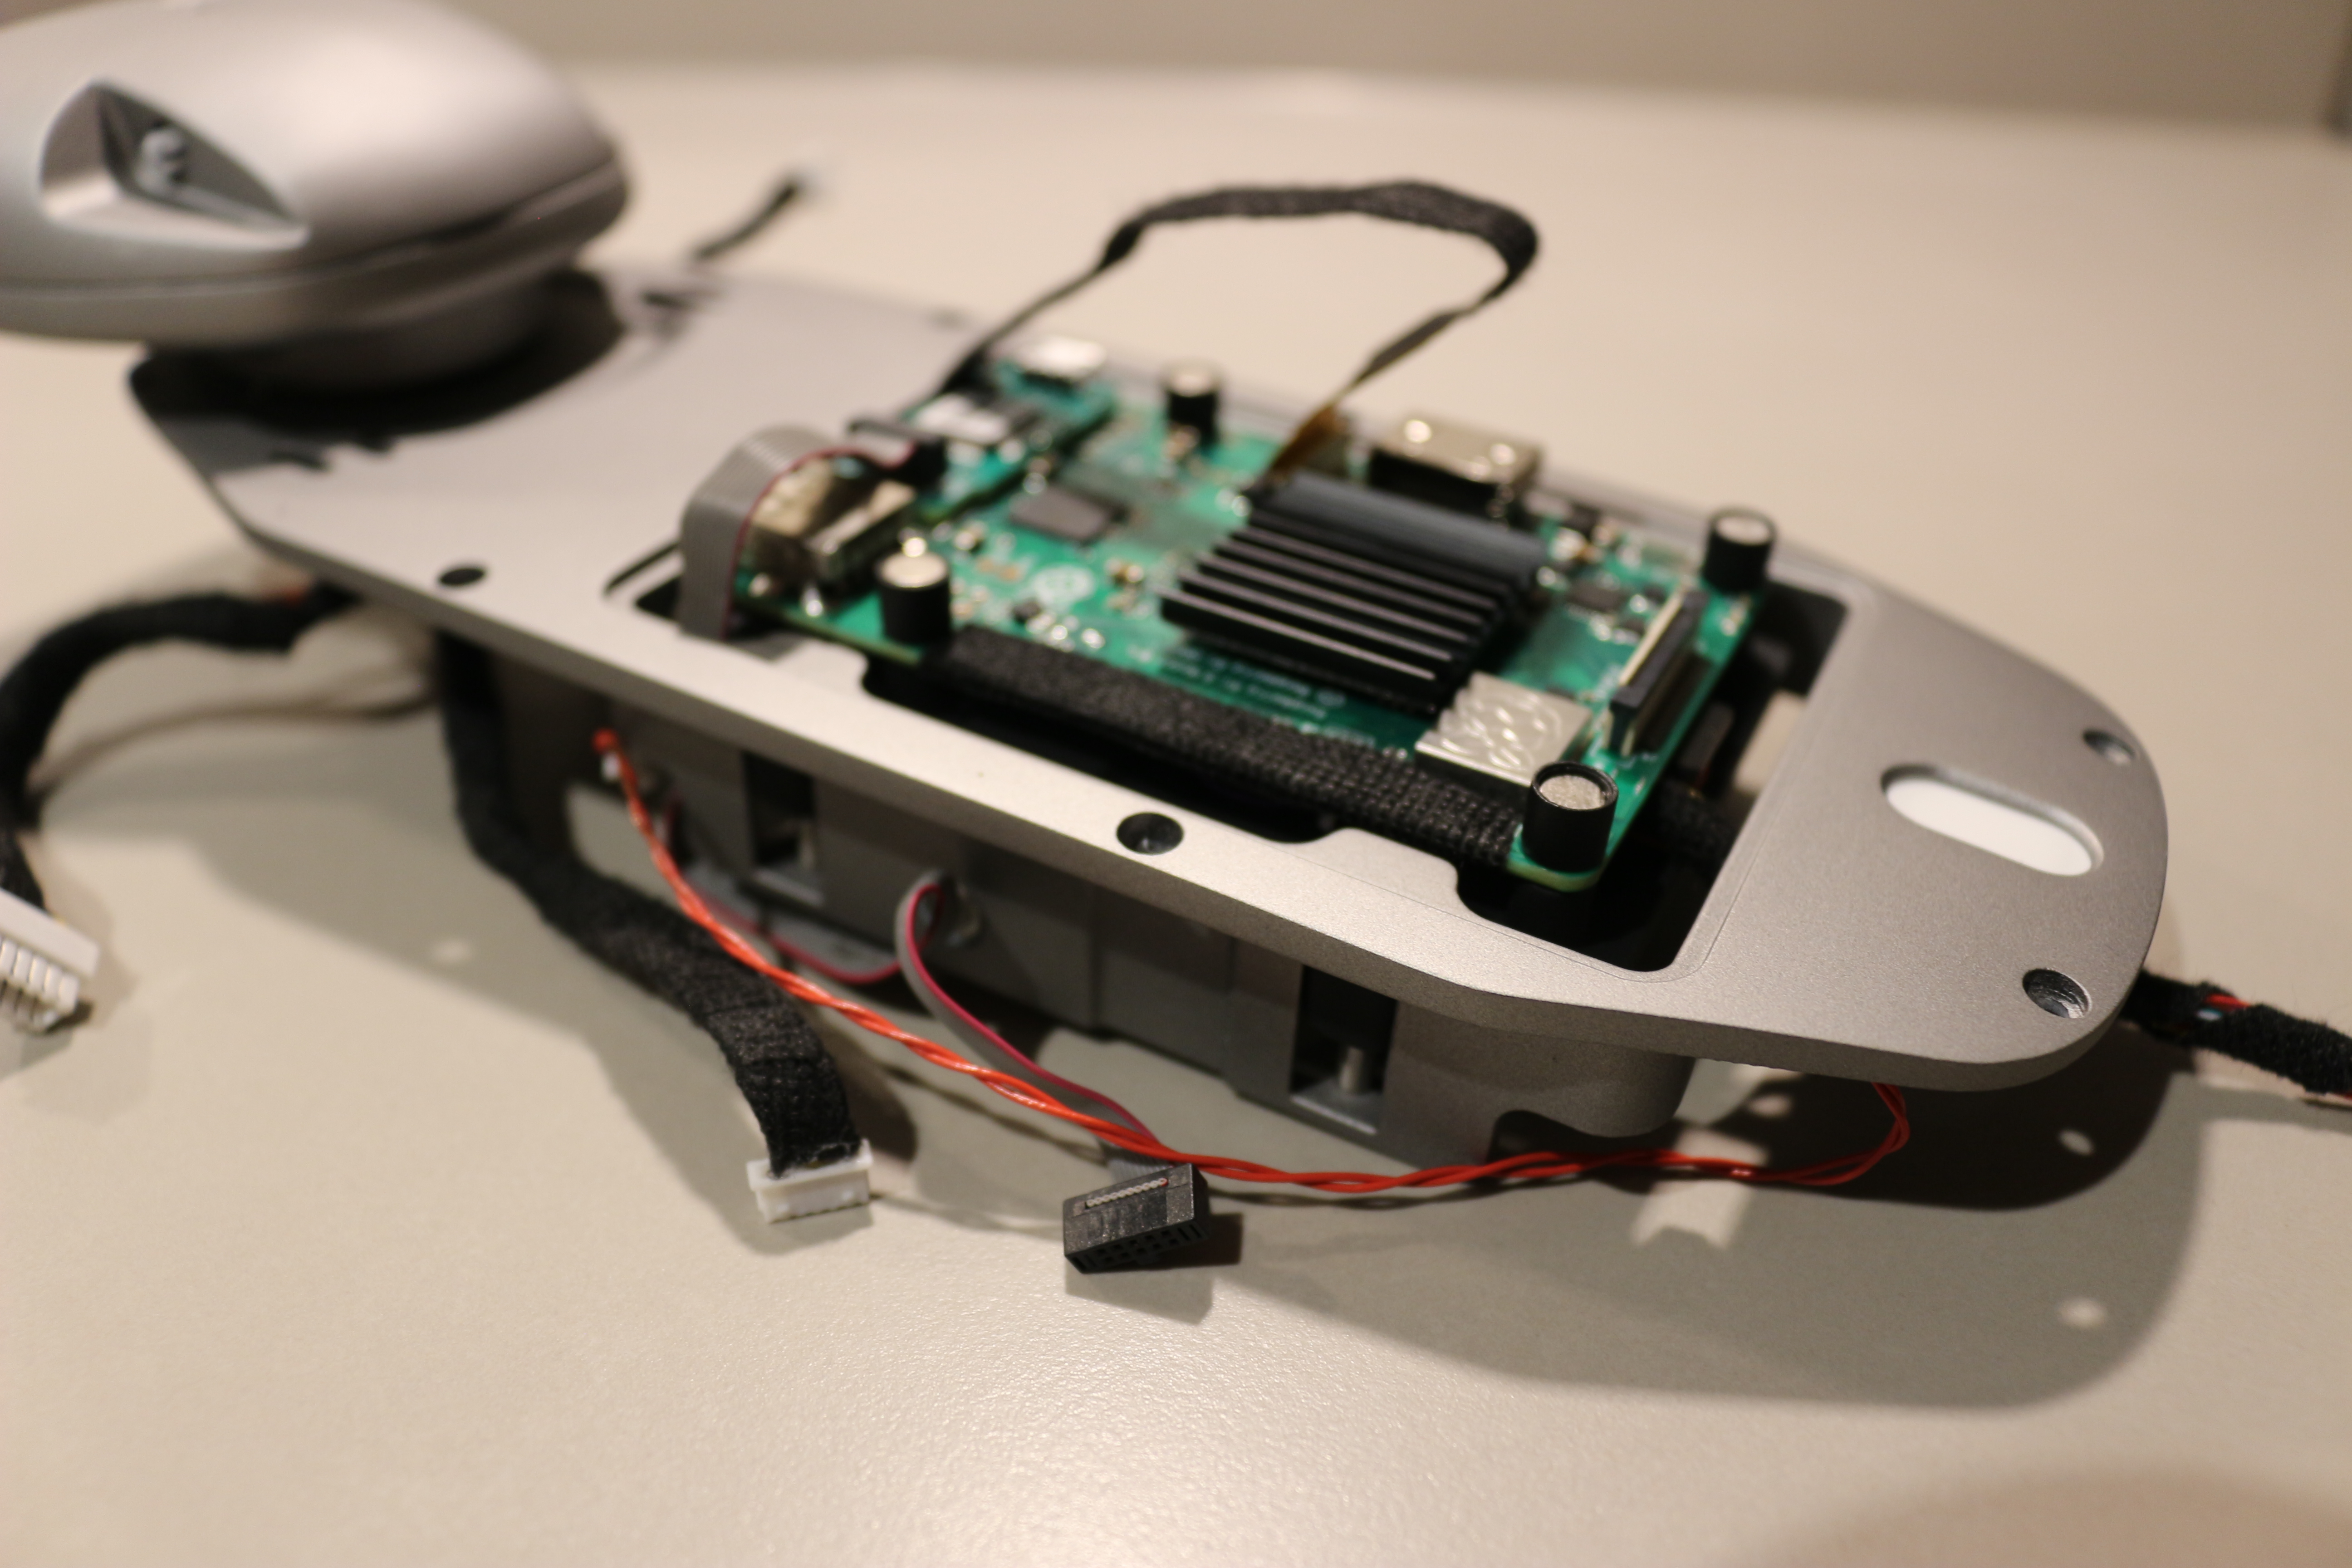
The cables beneath the RasPi looks a bit messy for now because before fixing them definitely, I want to make sure the motherboard and the Pi are properly communicating. This method of soldering all directly on the Pi seemed to me the most practical one, I only have one cable to connect to the motherboard, the rest is connected just beneath the Pi.
I could have done a custom PCB to Plug the Pi into but it would have been too high for the Hood… But thinking about it now, I also could have used a PCB as base for the elevator instead and inverting the 40 header pin. If I have issue later with the hood mechanism, maybe I will think about it seriously.
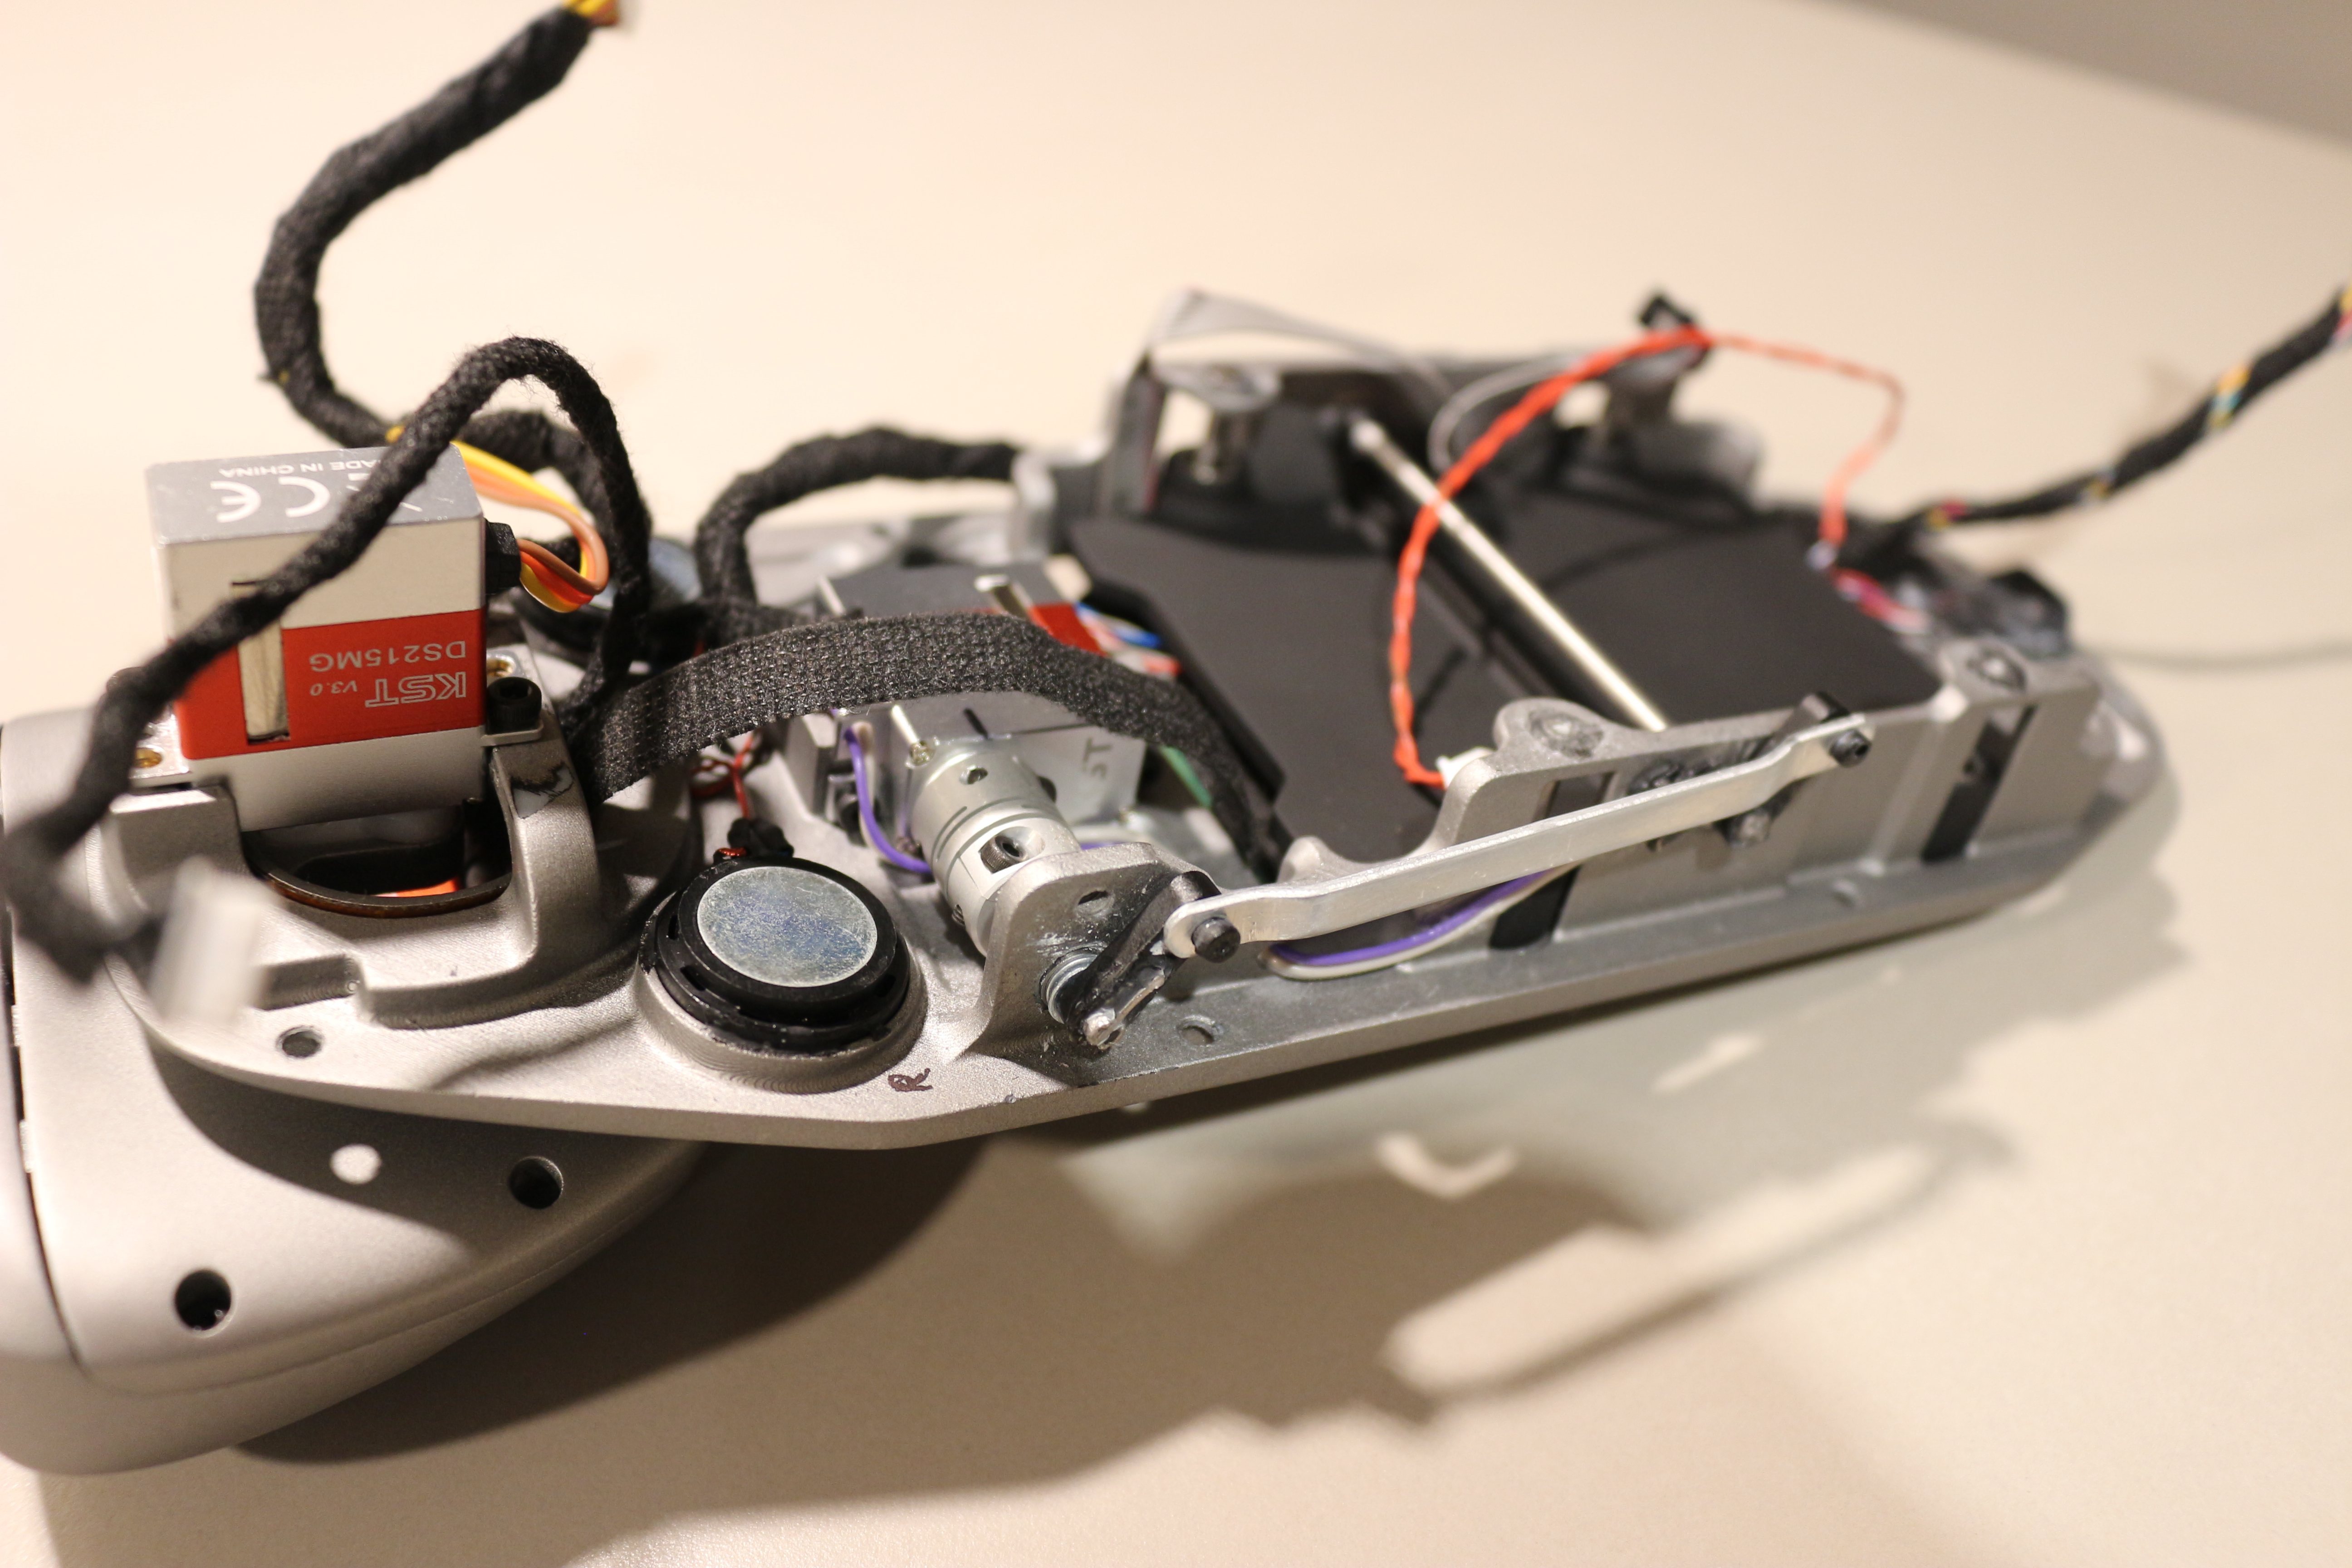
The mechanism was not easy to integrate and to make it work nicely but after many tweaks (and a lot of patience) it is finally working. It is not as beautiful as I hoped for but it will be hidden and as long as it works, I’m happy with it. So basically, the hood mechanism consist of a small servo pushing or pulling a lever making the platform going up and down.
The bottom looks quite messy with all the cables but unfortunately, there is not much I can do because at some point, cables need to be connected to the motherboard. However, this architecture allows me to install and remove the Top Cover from the body without too much trouble (for maintenance or bug fix). Having the hood held with magnets is also very convenient to access the Raspberry Pi and plug the HDMI or USB cable.