After the Lower part, the Upper body was the logical next step. Actually, there was not much to do on this one… I started by installing the insert for the Top Cover, using the same method as before, which went flawlessly…

M2.5 Inserts

Top side

Bottom side
After the inserts, only the Flexible OLED display was left to install. I placed it first to see how the active area will match the outline of the body,then, I simply added double sided tape on the inner frame and pressed it against. In order to protect it, I added some felt tape and it looks nicer as well 🙂
For the cable, I first wanted to use braided sleeve but it turned out to be too rigid on the connectors and bit tricky to do… so I opted for the automotive solution by wrapping the cable in automotive tape. This looks pretty neat and avoid rattling noise if the cable is moving against the body.

OLED placement

Mounting

Outside view
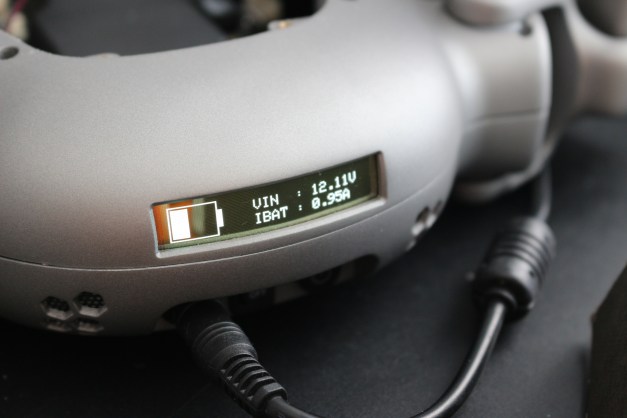
And voila! The result turned out to be much better than I thought, this curved display looks stunning ! I can’t wait to make a proper HMI and menus 🙂

Animabot´’s Logo

Some sensors values

Animabot´’s Logo
See you later for the Top Cover assembly !