After so many weeks of waiting, all Animabot’s parts are finally home !!!
I decided to start with the lower body assembly and then working the way up to the head. The legs will be the last parts to be mounted because I need to redo the PCB and the PCB should be mounted before the legs 😀 this, and also because I didn’t find the courage yet to disassemble the current version yet ![]()


The first I did was to check if the motherboard and the servos were properly fitting inside and yes they do! So from this, I started by mounting the screws inserts in place ( by using a soldering iron, then pressing gently them in the hole). Once this step done, I continued with the buttons on the rear panel which are inserted and glued (easy peasy) and placed the dust grid behind the air vents. To install them, I also used the soldering iron and kind of “soldered” to the inner side of the body (melted both together), the result is not particularly aesthetic but it’s easy and durable !


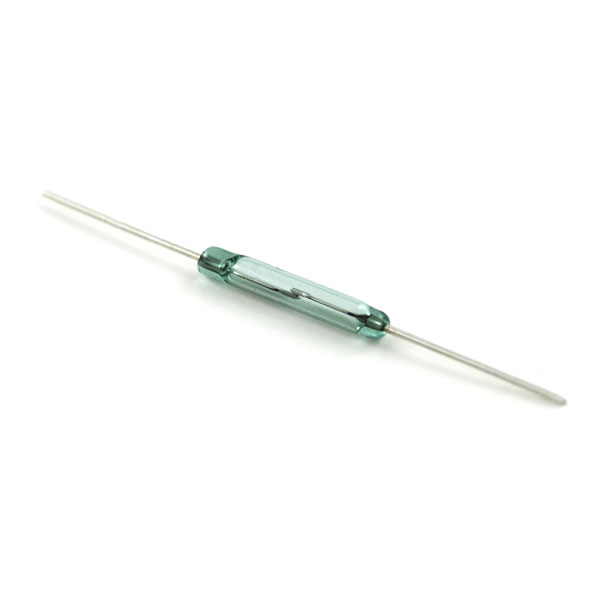
Below the battery, is mounted the dock connector constituted of 2 concentric copper rings (no polarity inversion possible !) and also the dock sensor which is basically a simple magnetic switch (Reed switch). All this is isolated from the battery with some Kapton tape. Last but not least, the IR Telemeter is now fiercely mounted on the front. The switch on the very bottom is the battery kill switch which allows me to completely disconnect the battery from the system …. just in case… 😀


Next Step will be the upper body 😉


")


