Concept
The goal of this project is simple: to build a fun, robust, and educational tracked vehicle that my kids can not only drive, but also program!
Rather than creating just another remote-controlled tank, the idea is to combine off-the-shelf electronics, 3D printing, and simple software into a compact robot that is easy to build and reproduce. Everything is designed around affordable, widely available components.
As the father of three boys, I have very little spare time for a complex project, so I wanted to keep things as simple as possible. The focus is on straightforward hardware, a clean mechanical design, and easy assembly, making also the project accessible to anyone who wants to build one. So for once, no custom PCB, no custom harness or complex mechanical shapes, etc..
The robot can be driven directly using the arrow keys on a keyboard or programmed by entering a sequence of movements. And, most importantly, it can shoot small disks to defeat any monsters or villains lurking around the house… or Dad, when no monsters are available…
Components
As mentionned, all the components are easy to get (DFRobot and Amazon):
- 1x FireBeetle 2 ESP32-E IoT Microcontroller
- 2x TT Motor with Encoder (6V 160RPM 120:1)
- 1x Lithium Battery Charger V1.0
- 1x 2Kg 180° Clutch Servo
- 1x Gravity: Digital Buzzer
- 1x 2-way DC motor drive board module mini L298N
- 1x 3.7V 3000mAh Lithium Polymer Battery
- 7x 12mm Micro Tactile Switch
Build
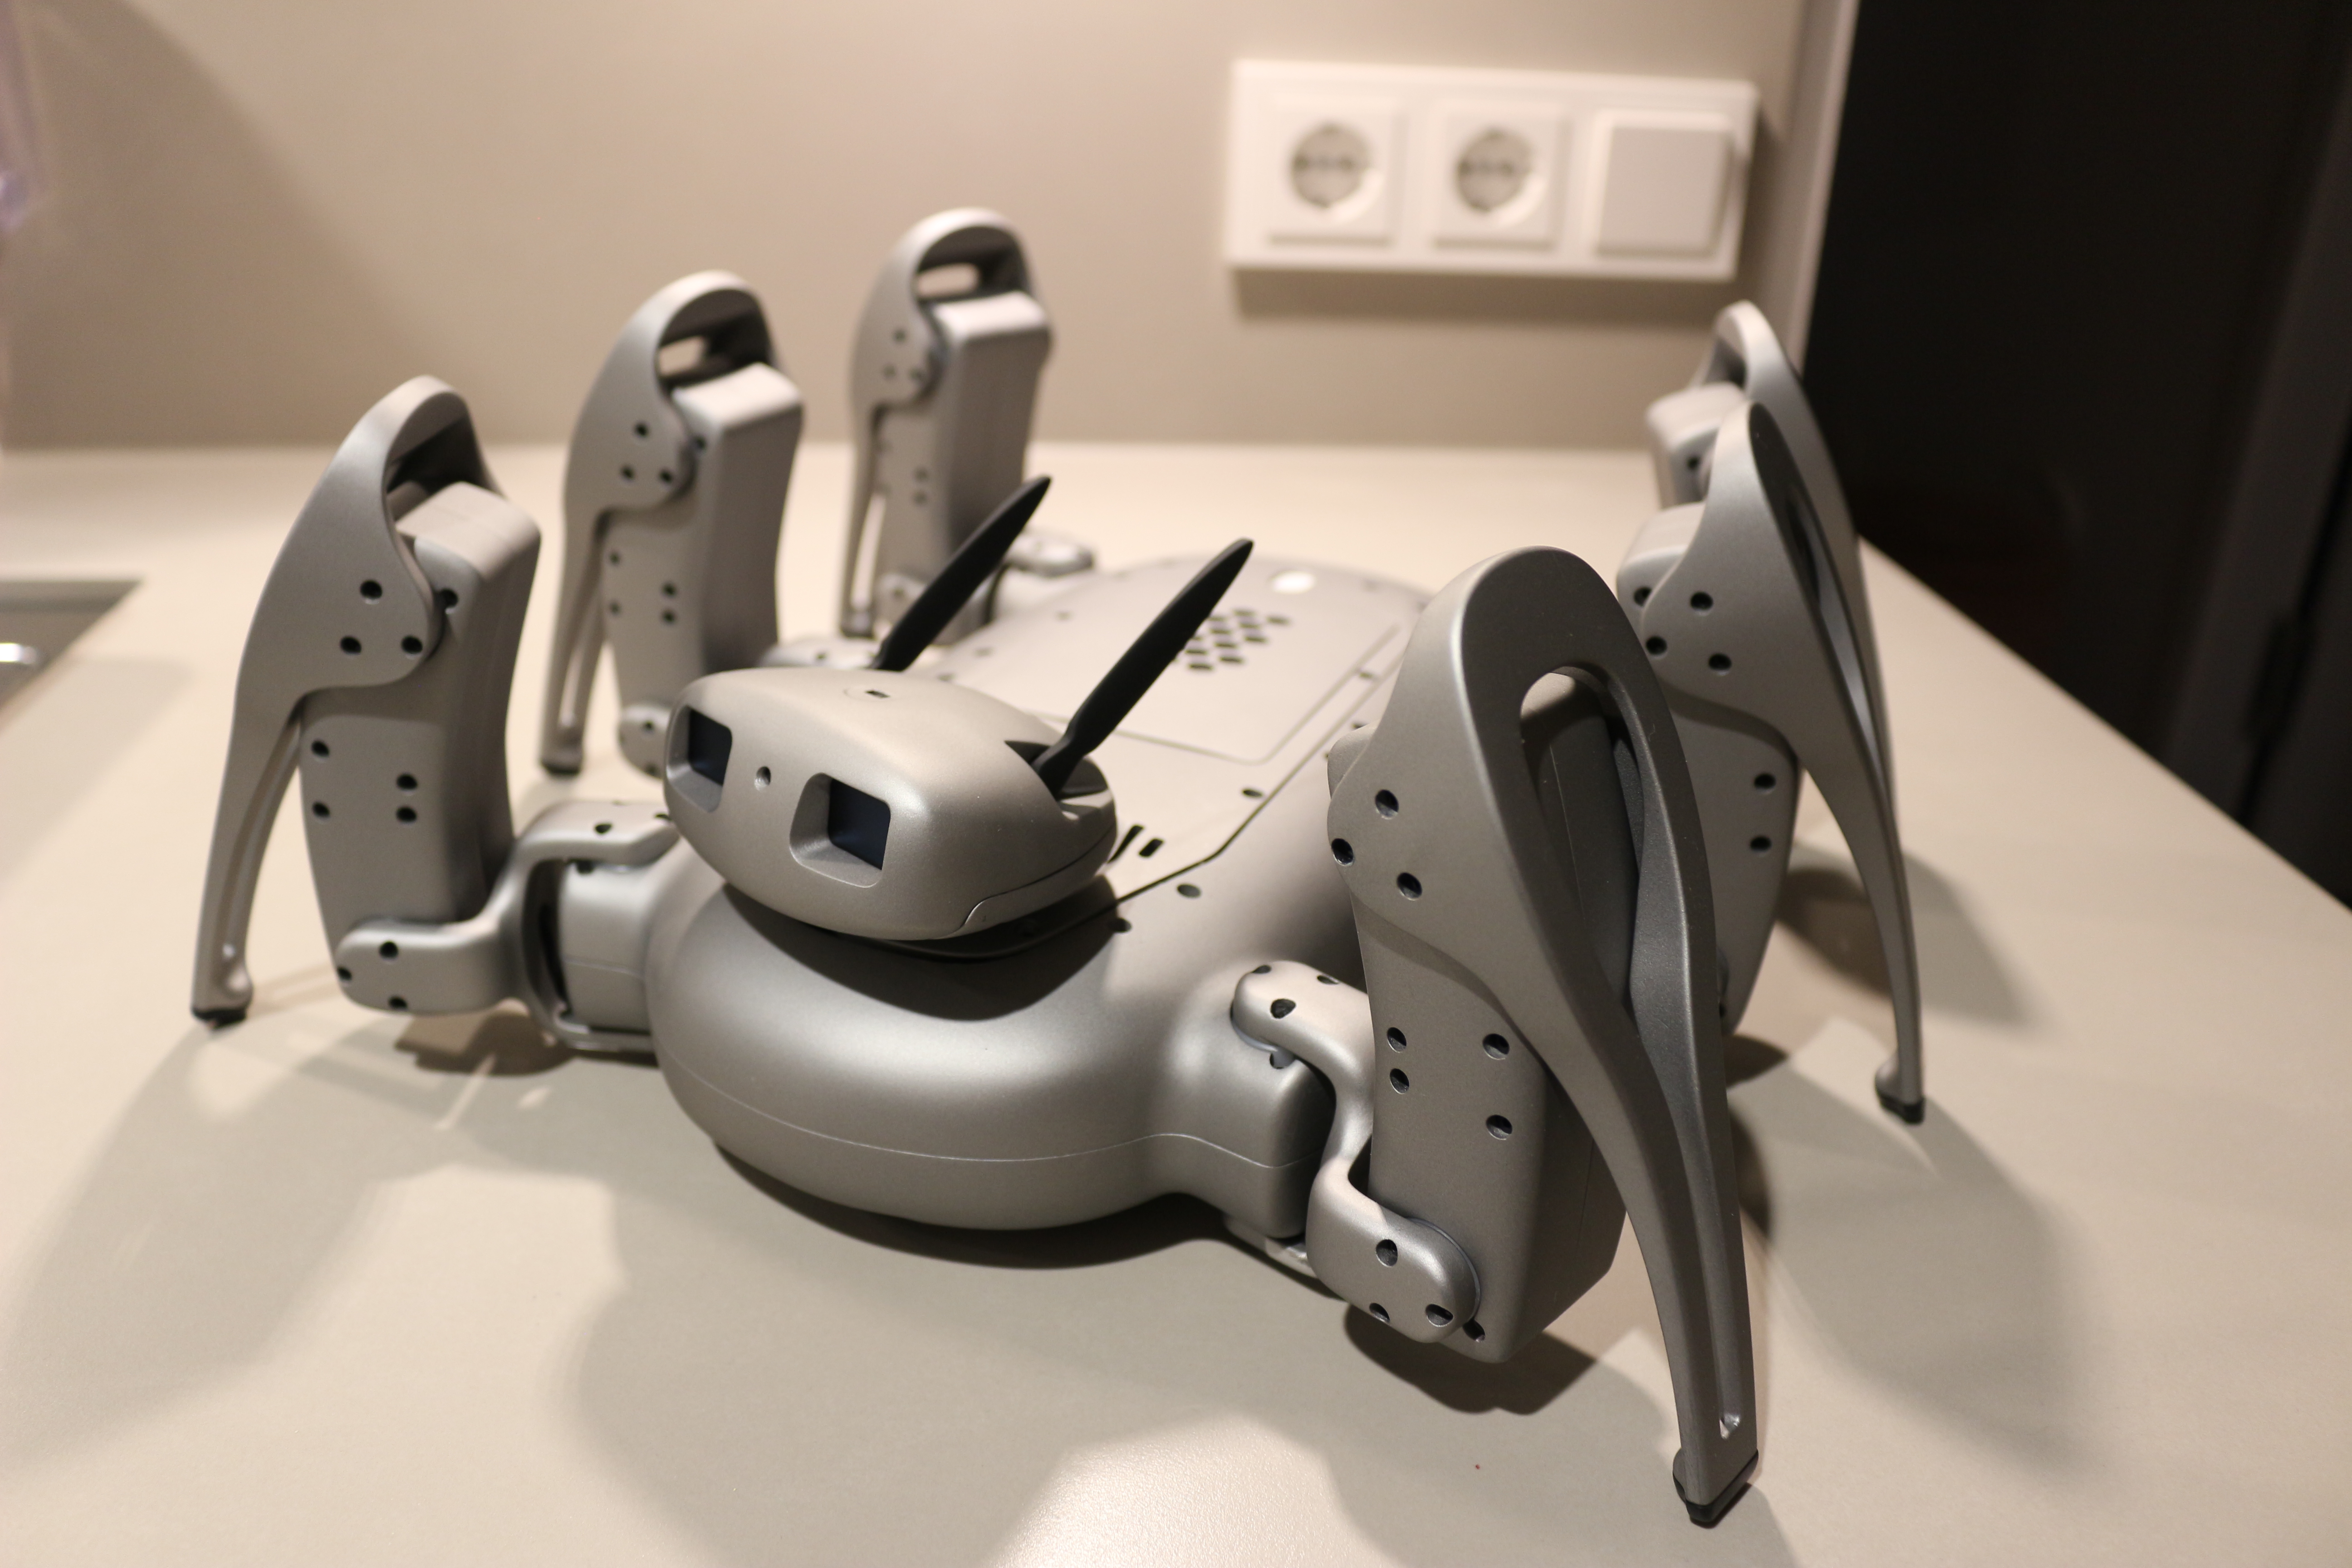
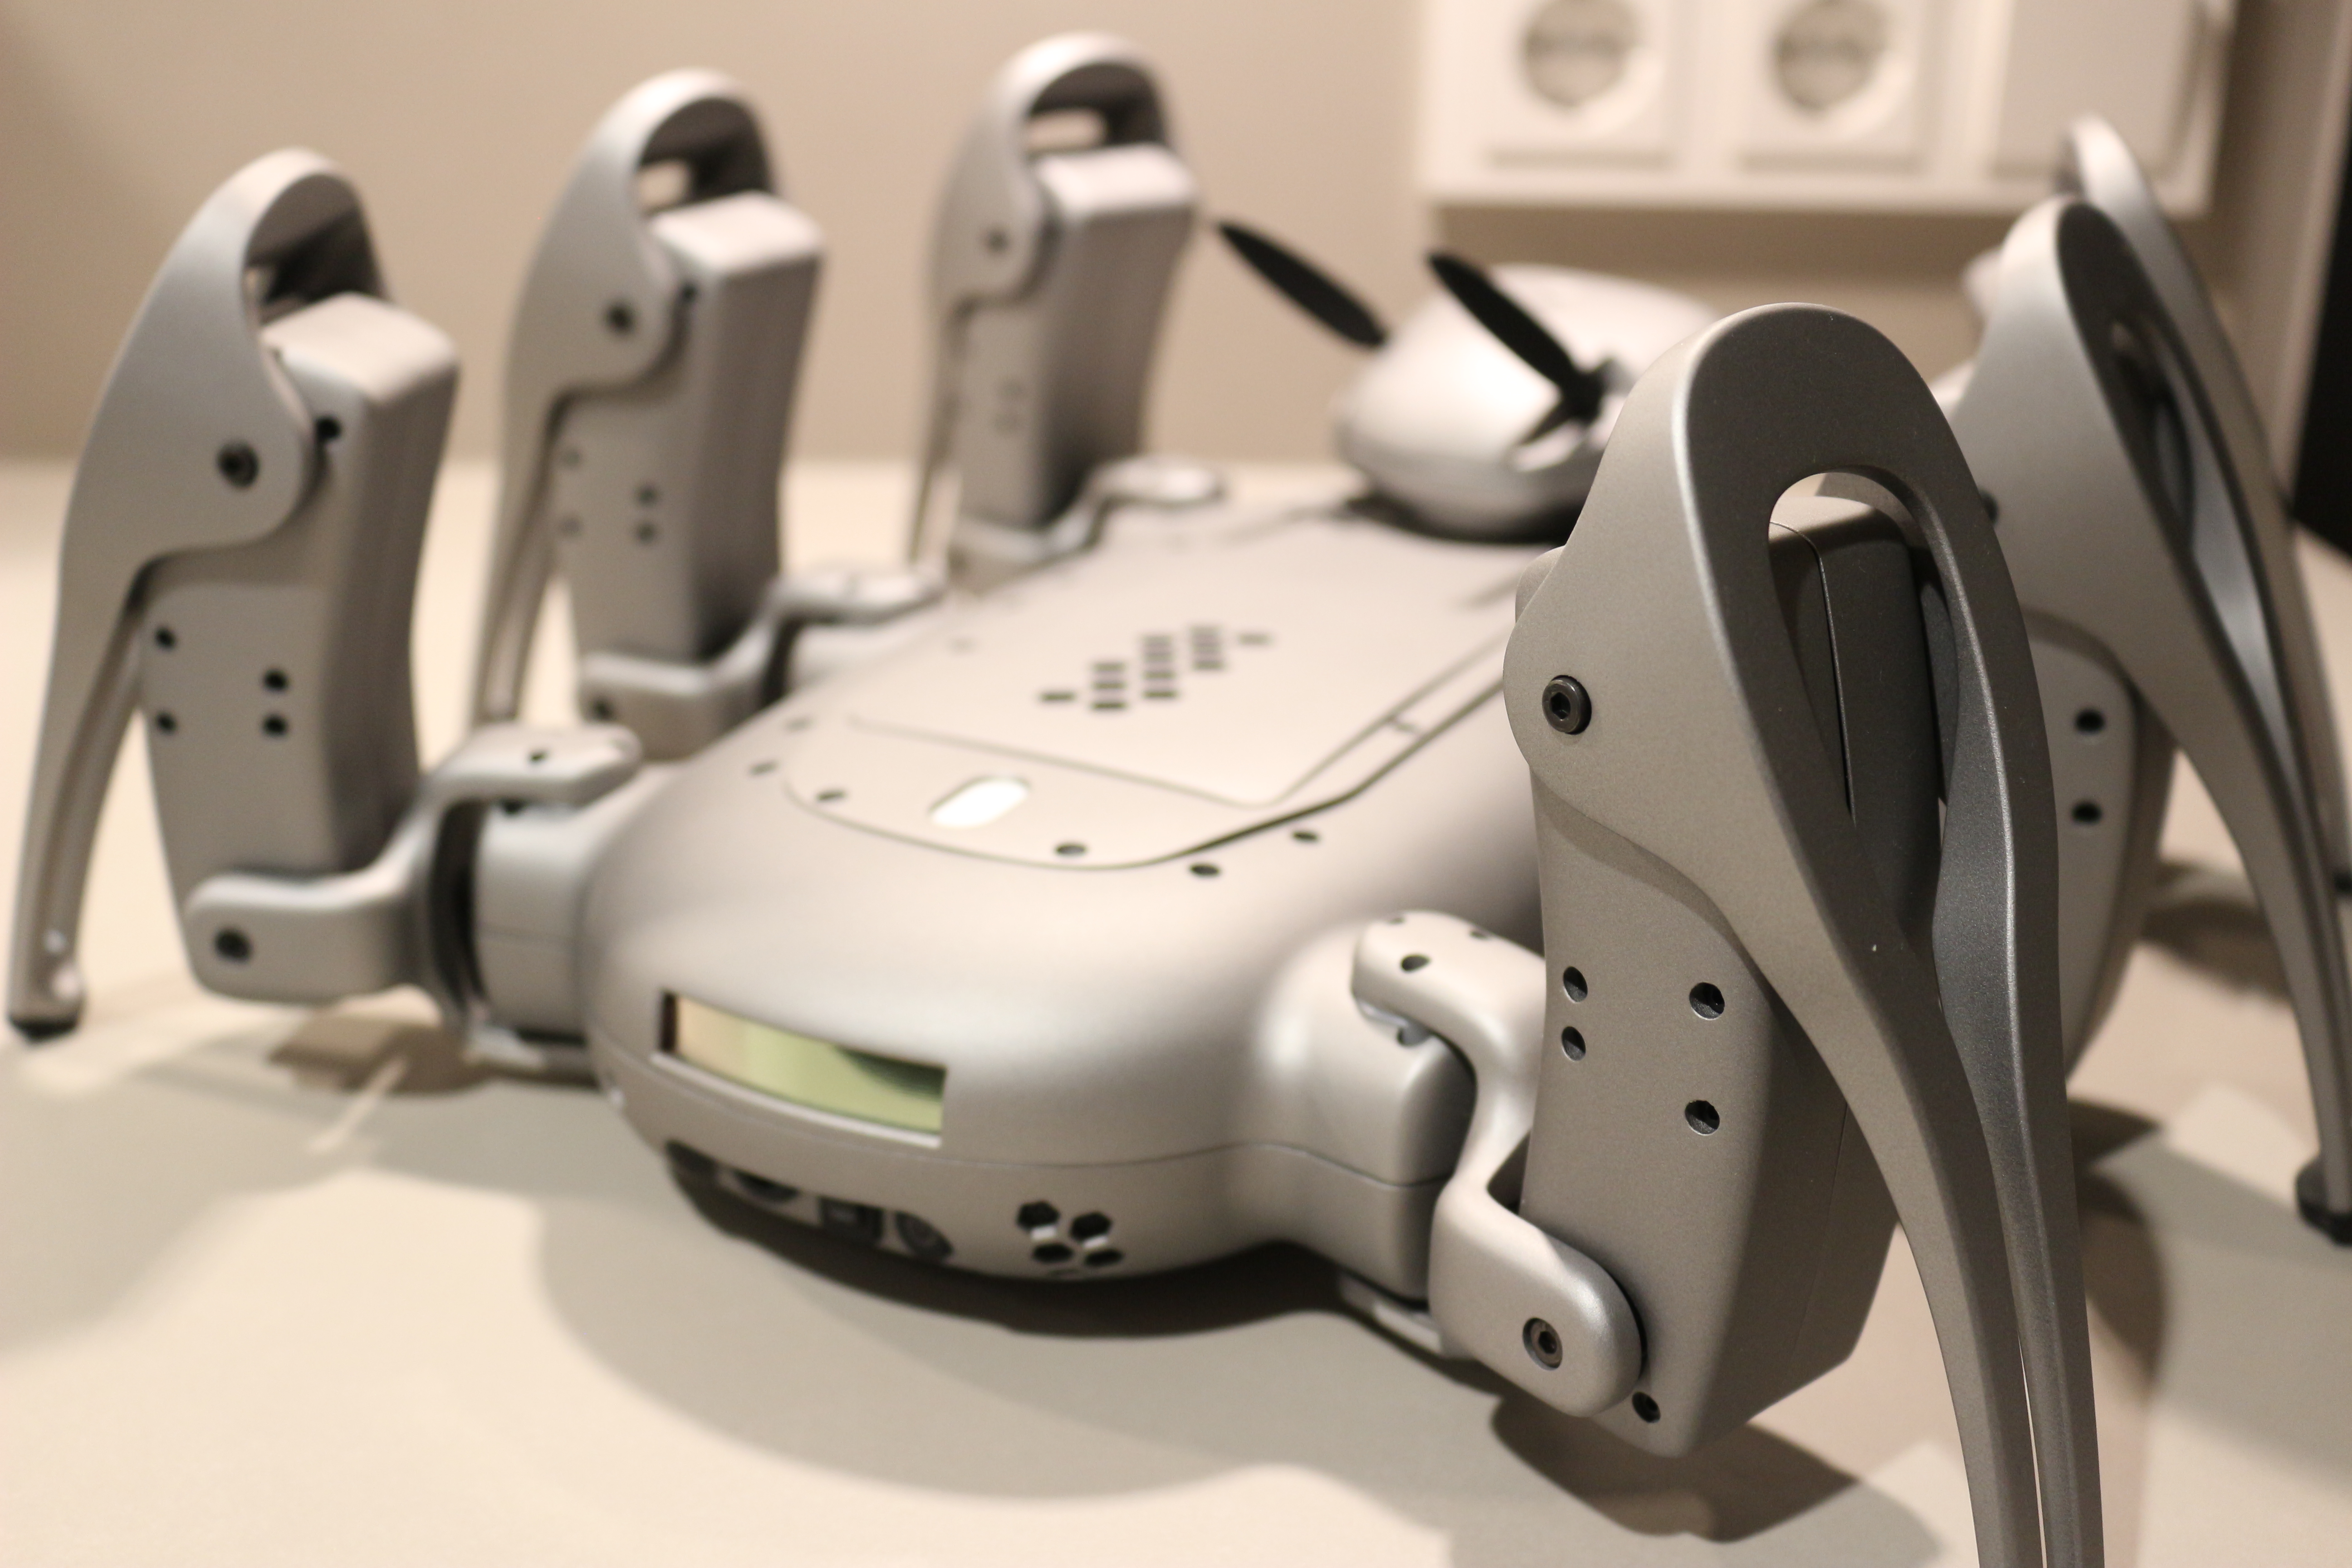
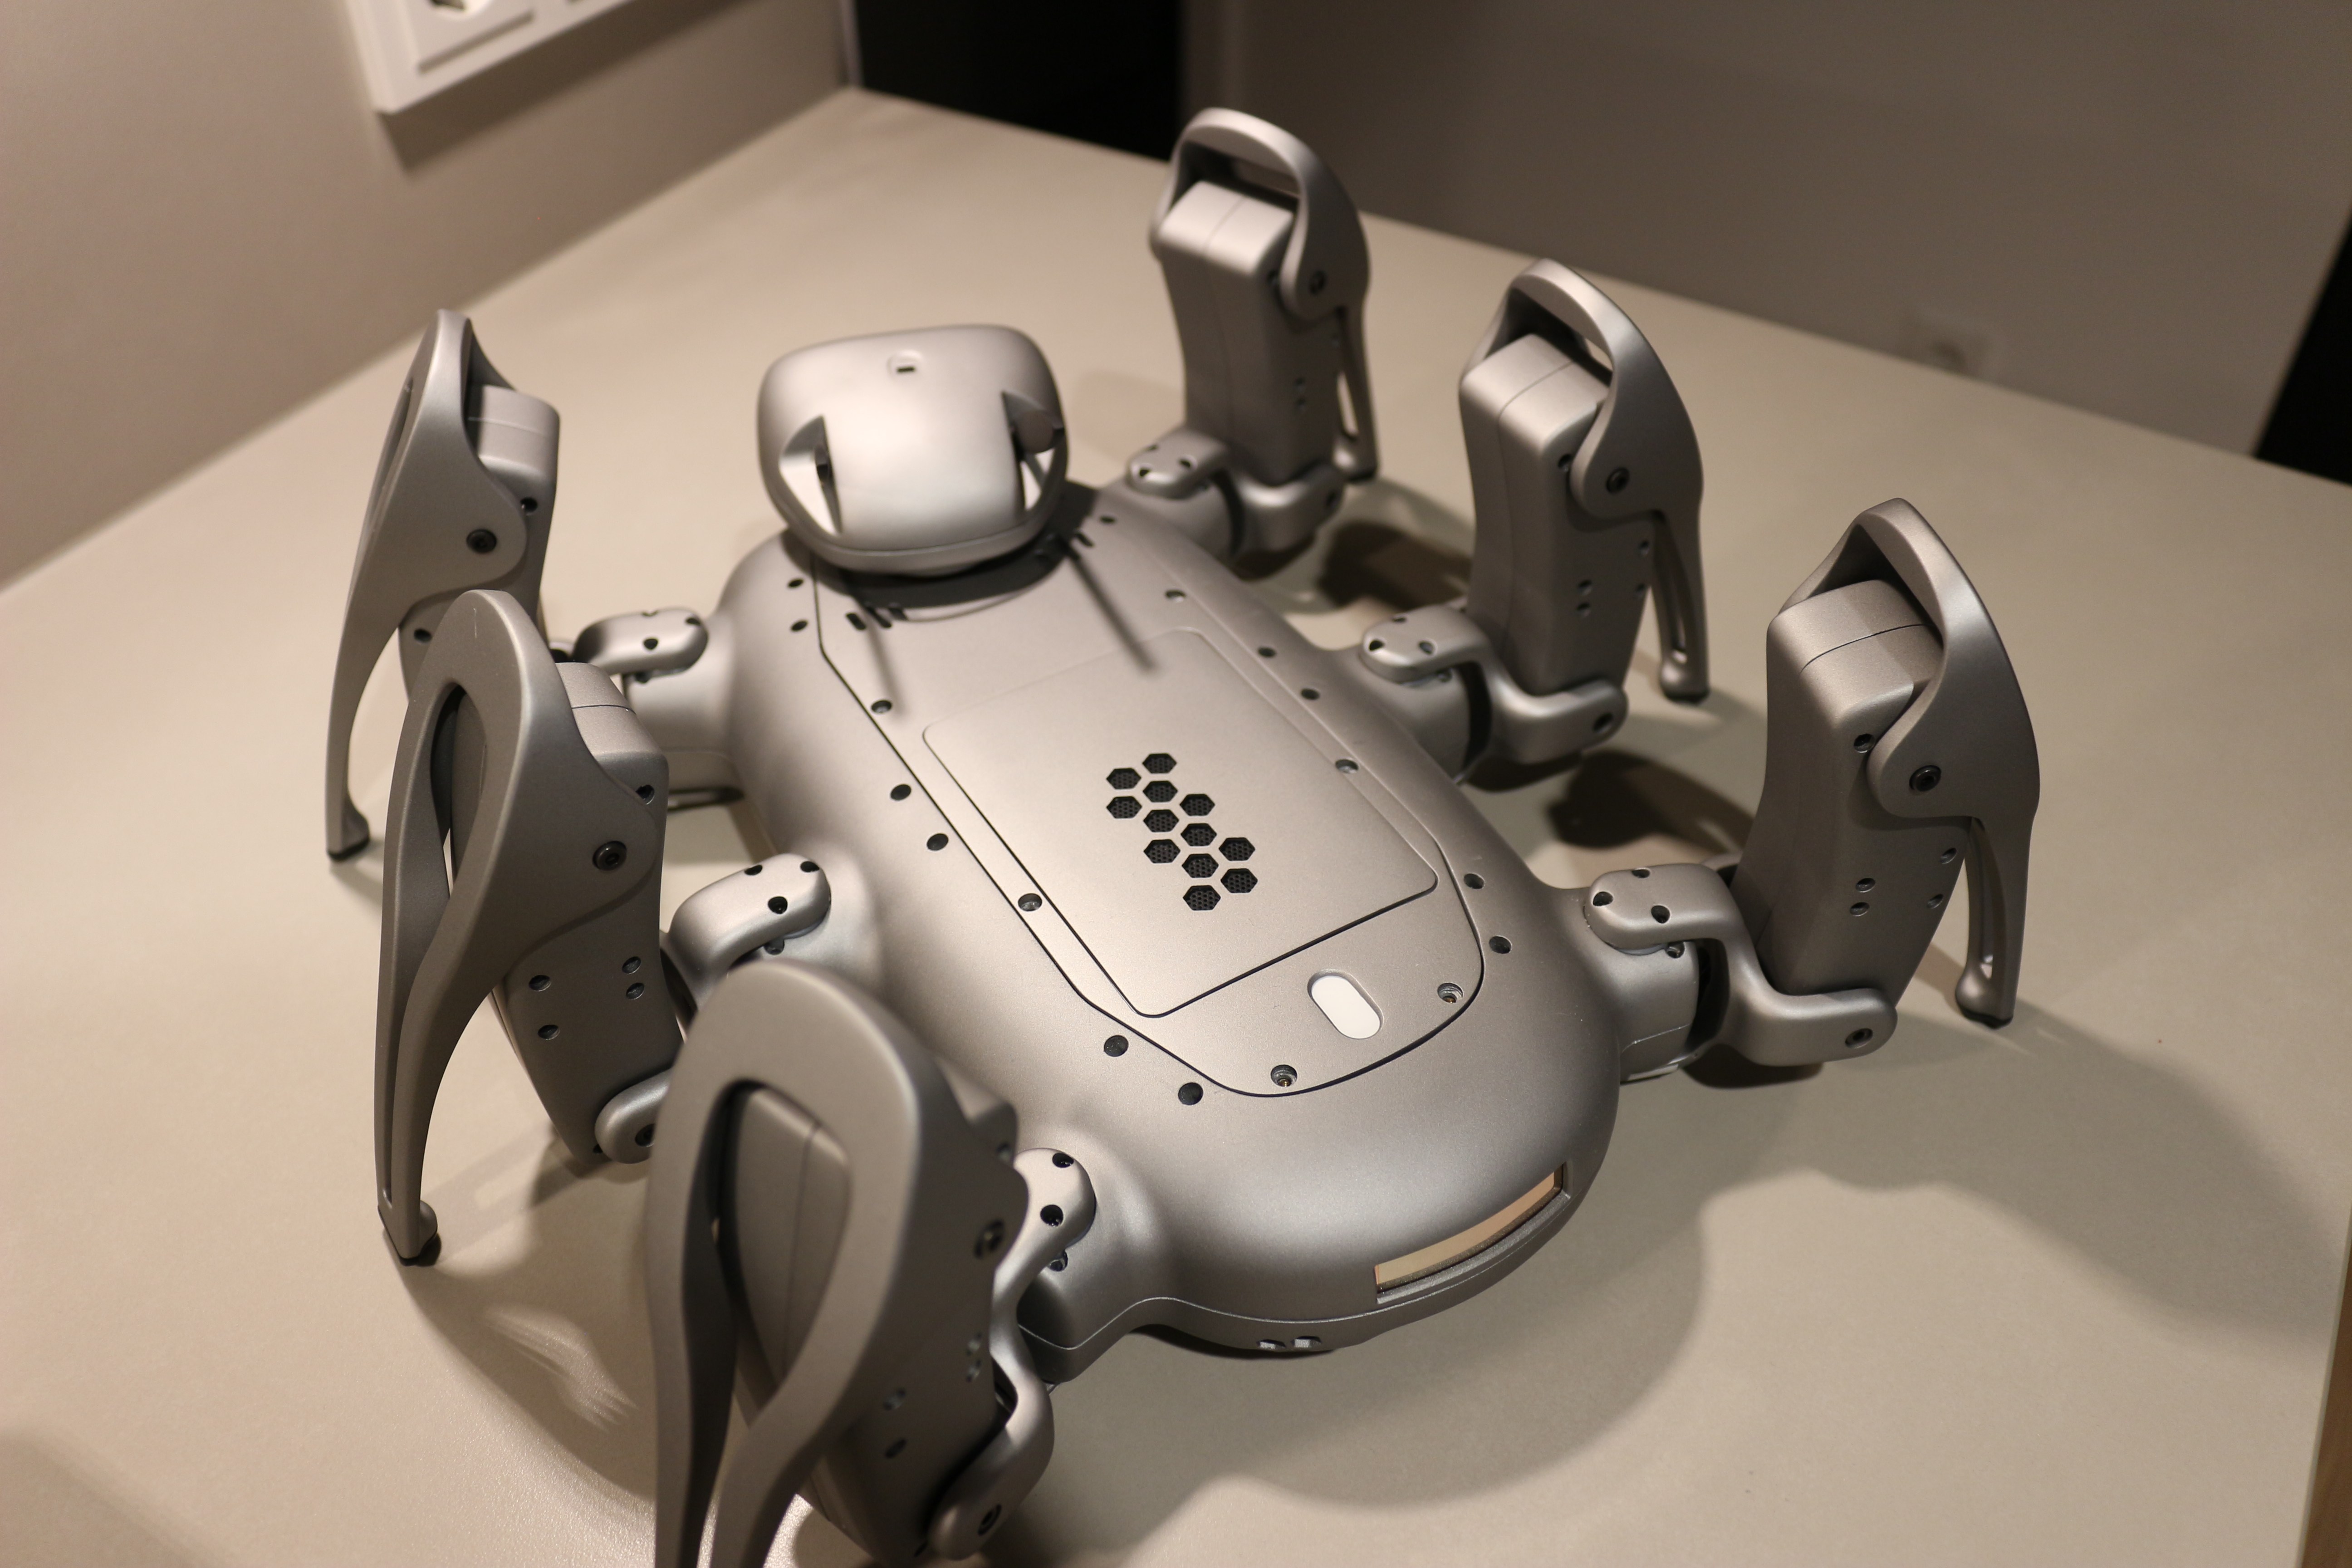
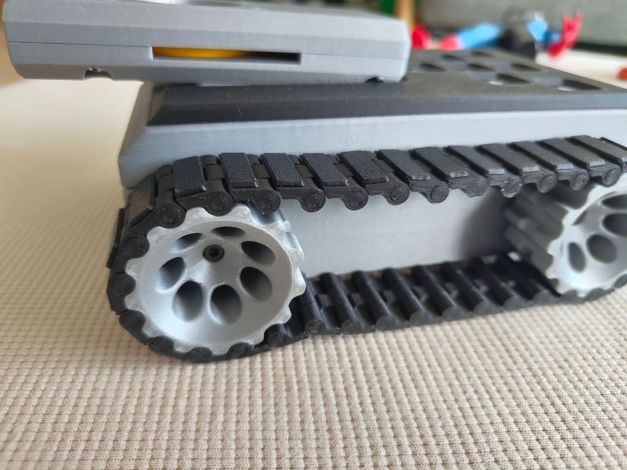
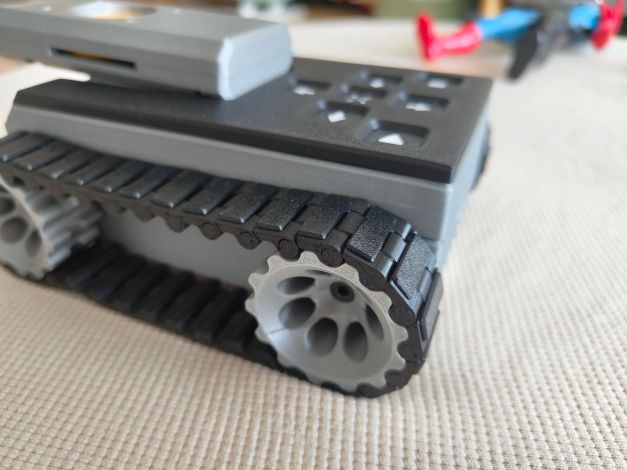
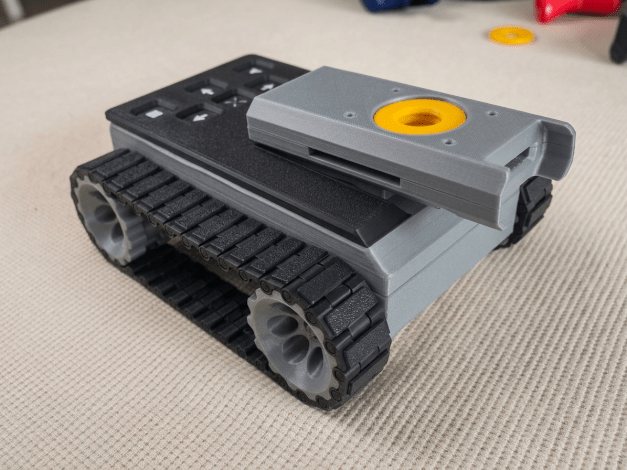
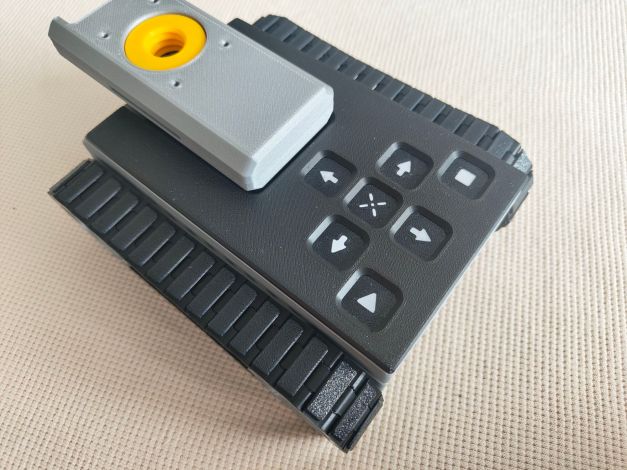
All the robot was 3D printed on my Bambulab (recent acquisition, so I can finally focus on the design and not tinkering with priting quality or problems anymore). The robot is composed of only 15 parts and the threads are printed in one piece with just enought clearance for the indicual track to rotate. the pad is made out of TPU and has a nice tactile feedback for the kids.

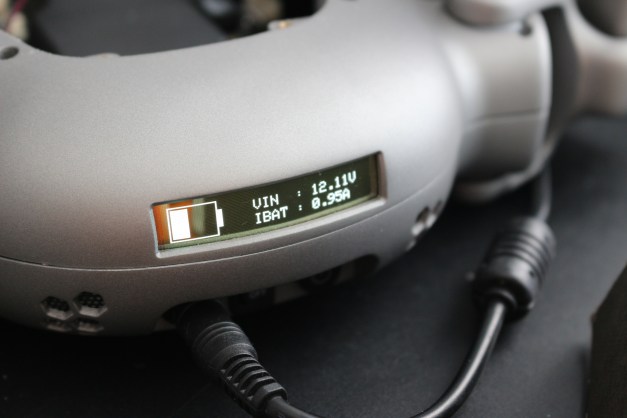
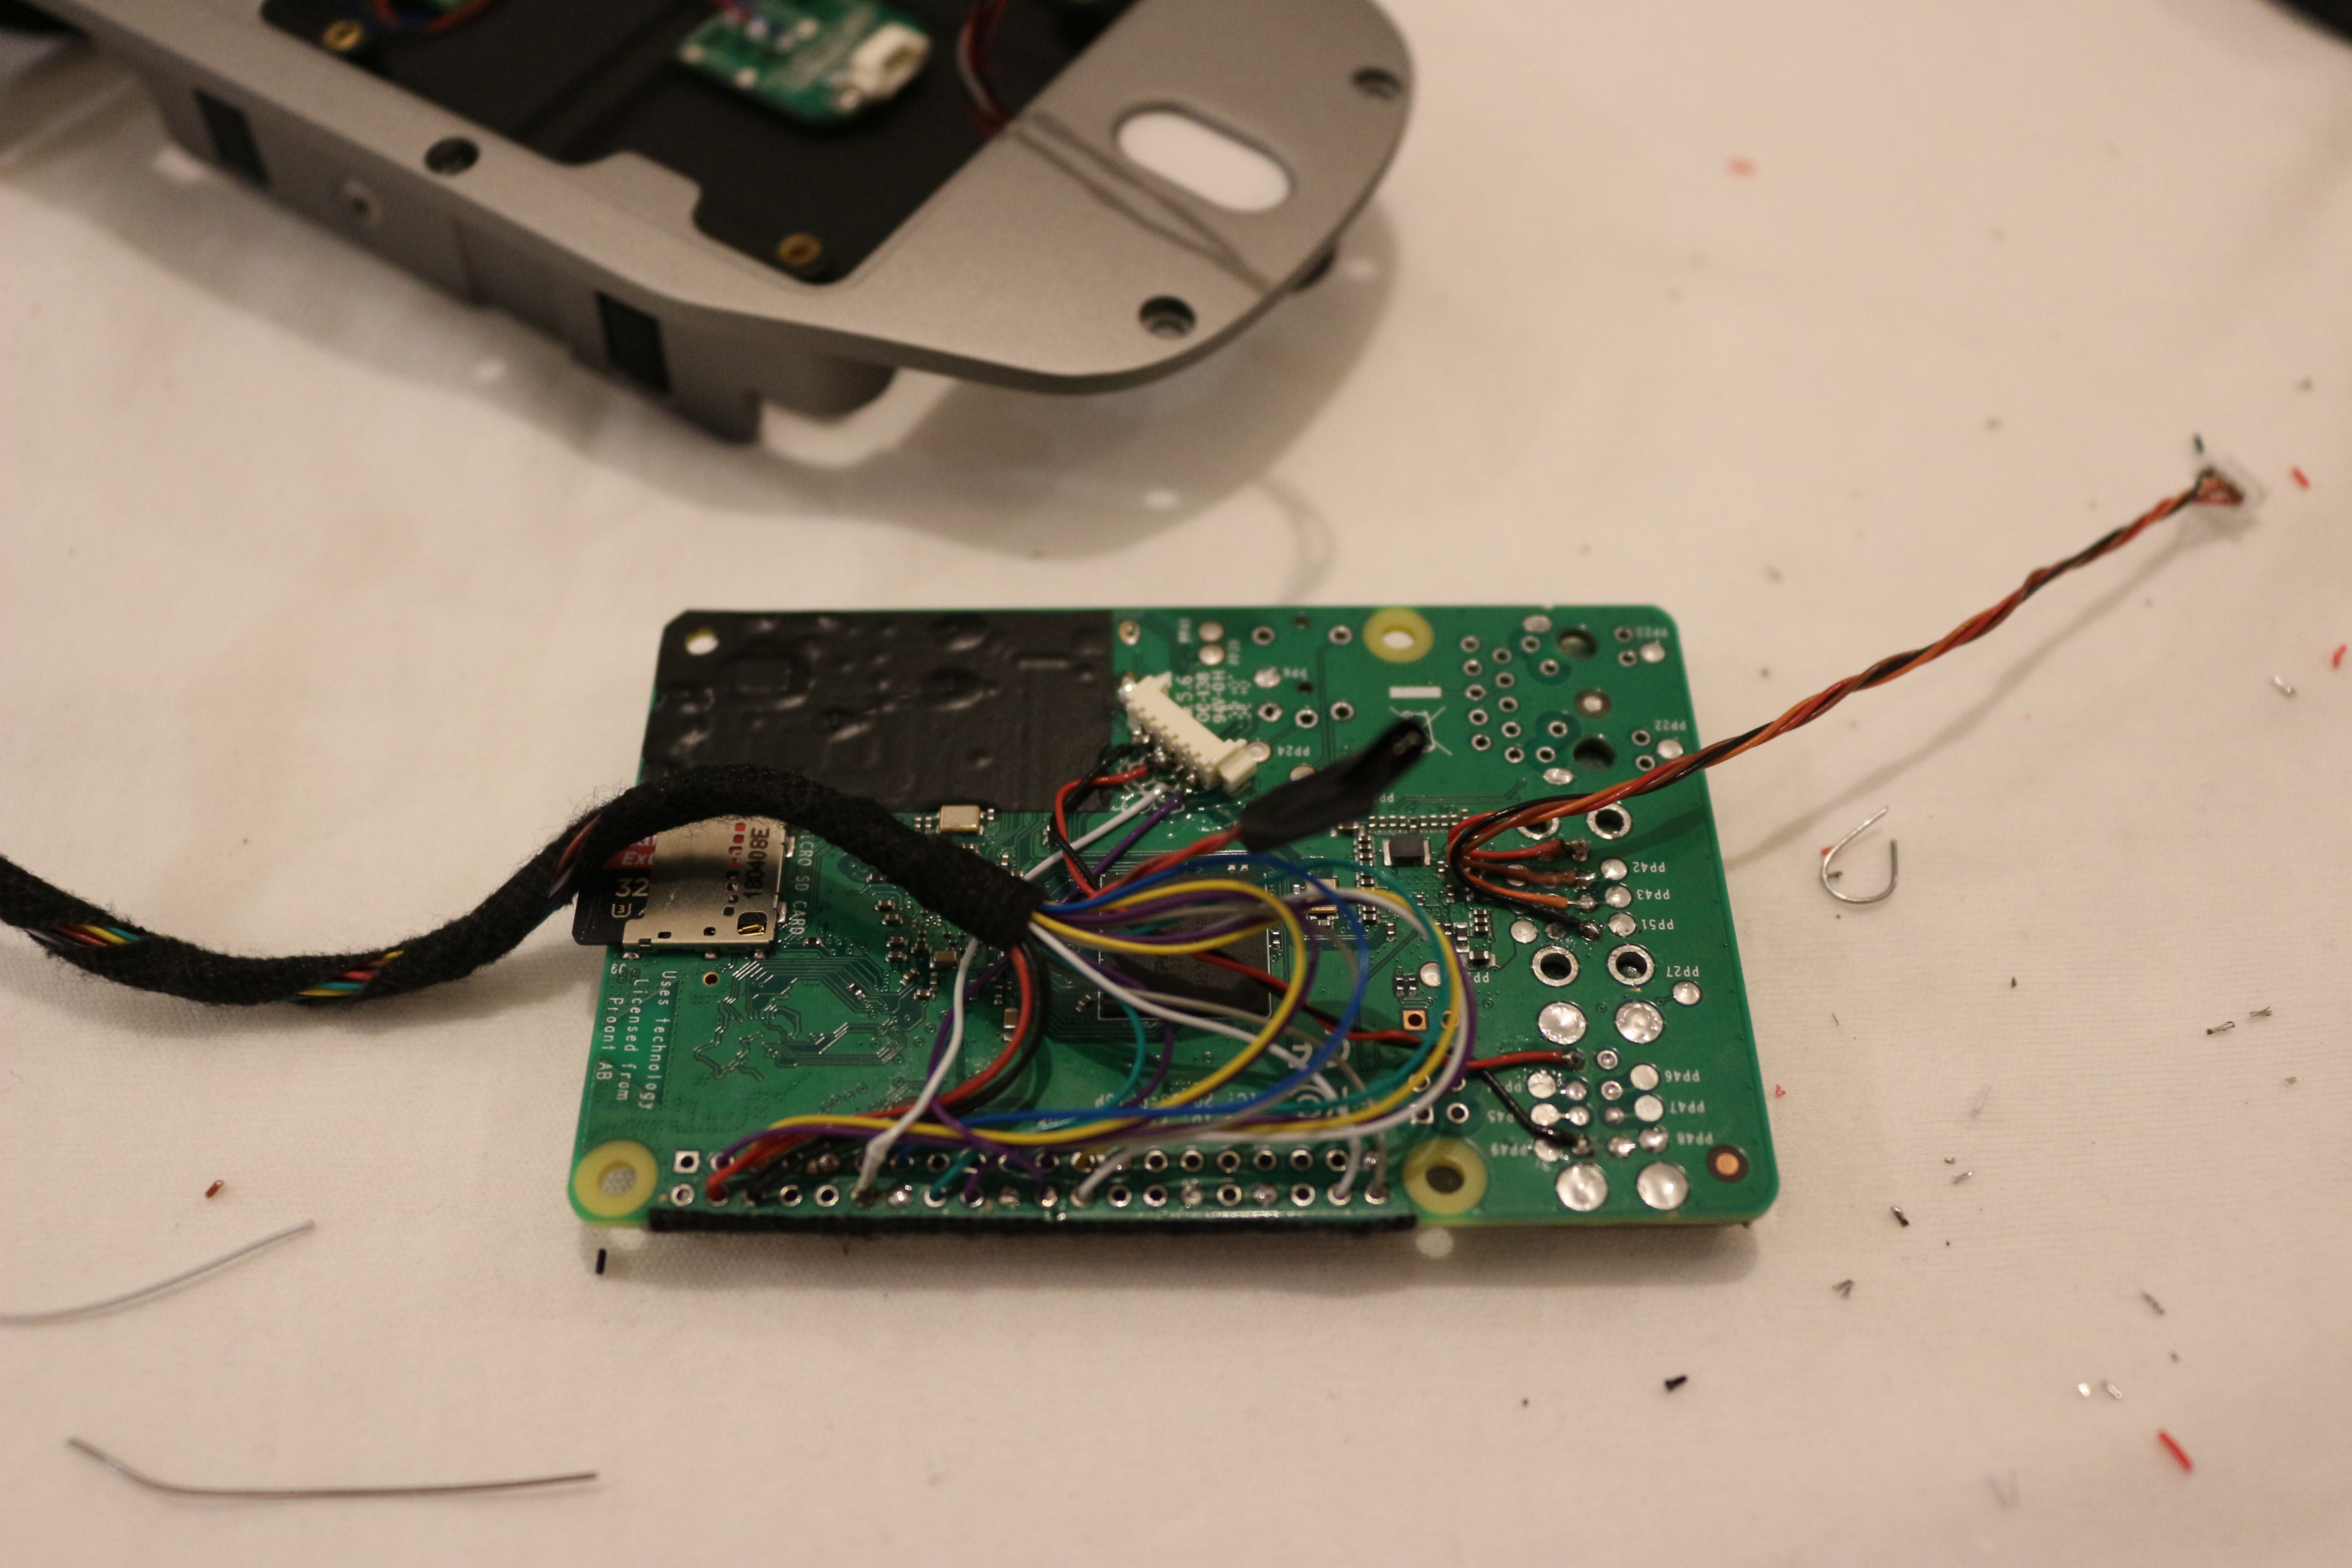
As mentioned earlier, the wiring is intentionally kept simple. It’s not the prettiest cable management you’ll ever see, but it’s neat enough for this project and, more importantly, makes the robot easy to assemble, repair, and modify.
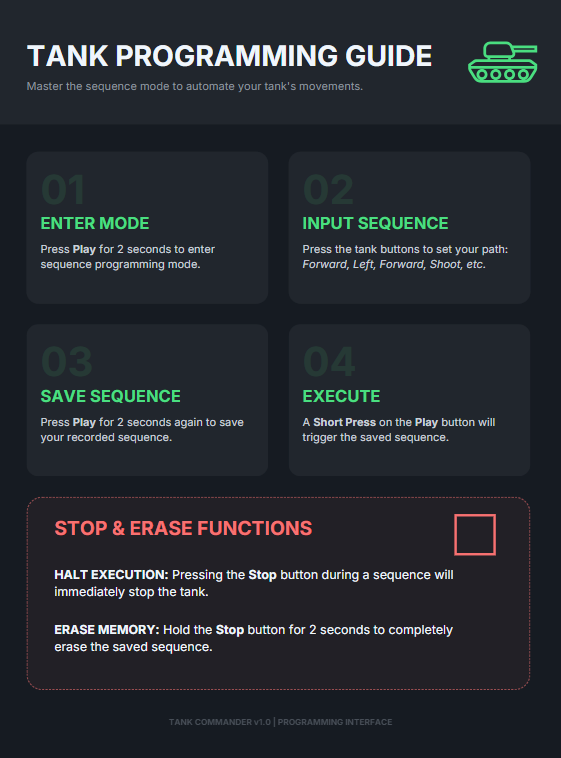
Programming
The tank has two main operating modes: Direct Drive and Programming.
By default, Direct Drive mode is enabled. You can simply control the tank using the arrow keys on the keyboard, and each action is executed immediately, making it easy for younger kids to drive around and have fun.
The second mode is Programming. Instead of controlling the tank in real time, you build a sequence of movements that the tank will execute one after another. It’s a simple and playful way to introduce children to the basic concepts of programming, such as sequencing, planning, and problem solving.
Next Steps..
The next step is to create a modular game board using a combination of 3D-printed frames (15×15 cm or 20×20 cm) and interchangeable printed scene inserts featuring deserts, roads, rocks, forests, and other terrain. These tiles could be arranged in countless ways to build a new battlefield for every game.
The idea is to turn the tank into a small autonomous explorer that can navigate from tile to tile, complete missions, or battle imaginary enemies. I’m aiming for a classic real-time strategy (RTS) feel (something of the maps in Total Annihilation, one of my all-time favorite games) but brought to life on the living room floor.